

Step 1: Our superhero prepares for the mission, gathering all the necessary tools for a flawless UV DTF application.

Step 2: Ensuring the surface is immaculate, our hero cleans it with an alcohol-free solution, setting the stage for a perfect sticker placement.

Step 3: With surgical precision, the transfer film is peeled back, revealing the vibrant design ready for application.

Step 4: Position is paramount; every millimeter counts as the sticker is aligned with superhero accuracy on the target surface.

Step 5: A steady hand guides the squeegee, smoothing the sticker down and ensuring every bubble is banished.
Step 6: Like a true craftsman, our hero inspects the sticker, ensuring it's flawlessly adhered without a crease in sight.

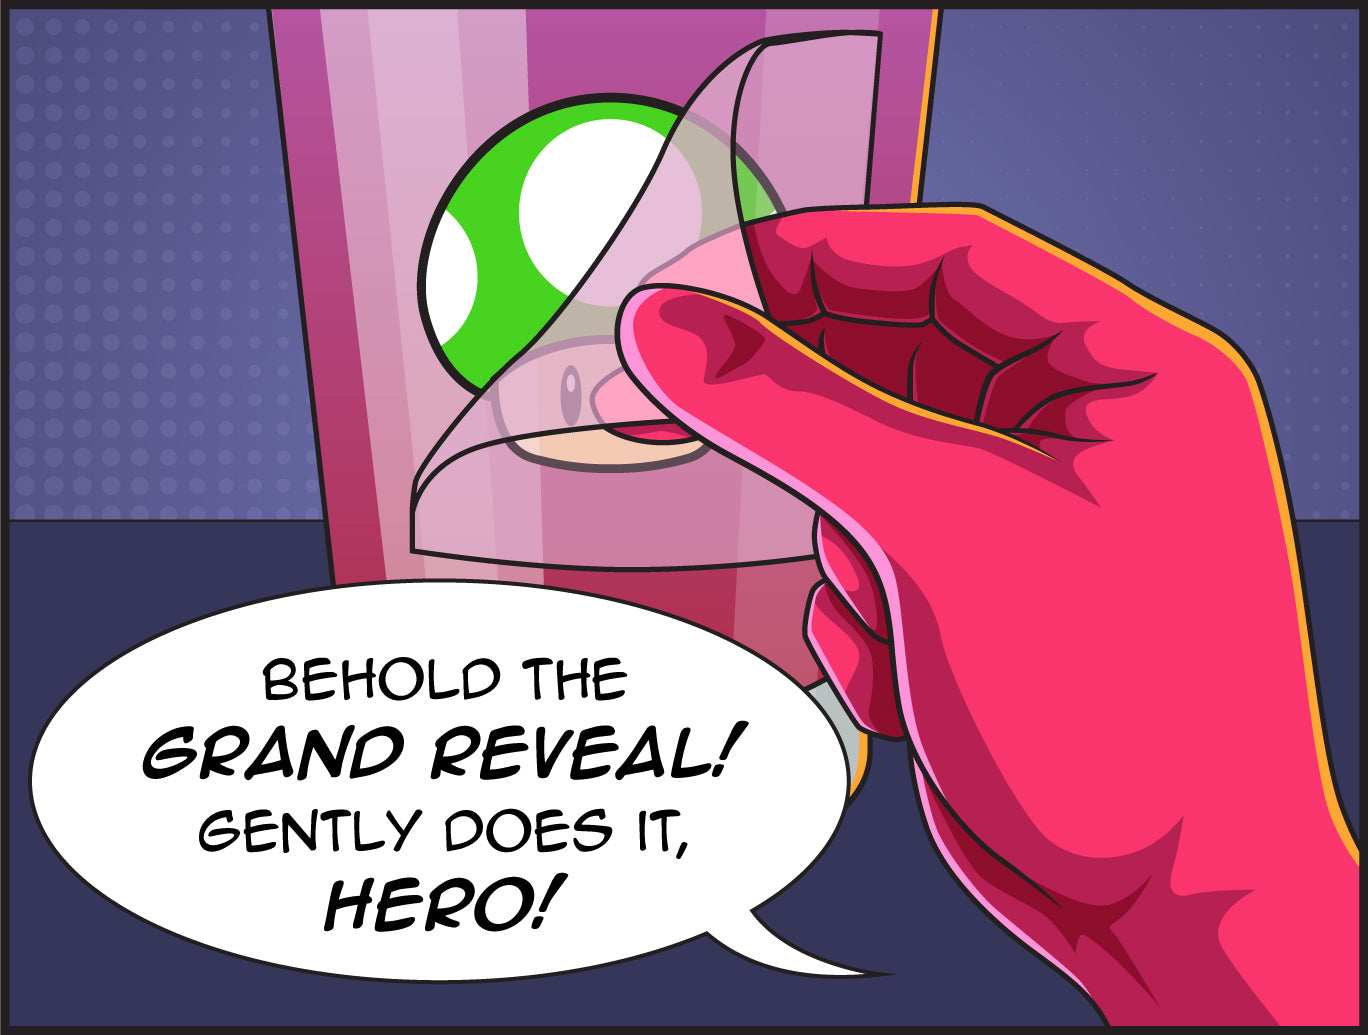
Step 7: The grand reveal is upon us as the backing is gently removed, showcasing the sticker in its full glory.

Step 8: With a triumphant smile, our superhero admires the completed work — another dazzling sticker perfectly placed and ready to wow.