Spray Paint Effect in Photoshop for DTF Printing
Introduction to Spray Paint Effect
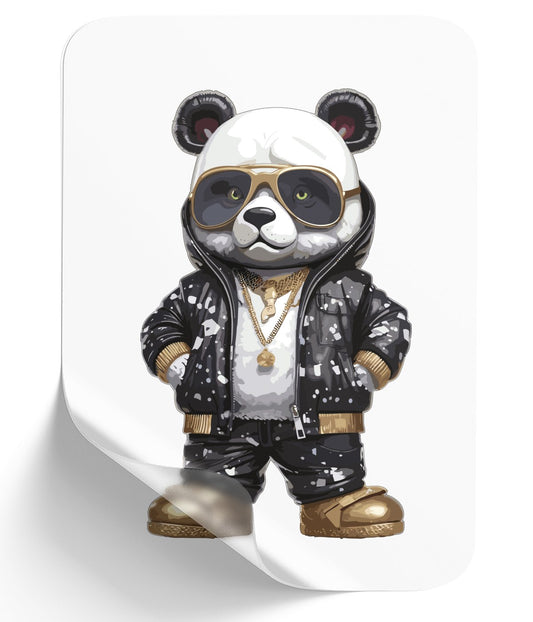
The urban world has seen the spray paint effect become a major design trend. From the graffiti-filled walls of LA’s Arts District to runway shows featuring high-end streetwear labels, this stencil spray paint style offers an eye-catching, gritty look. Its rough textures and bold bursts of pigment turn plain text into art.
In this tutorial, you’ll learn how to create this effect in Photoshop and make it ready for Direct-to-Film (DTF) printing. By the end, you’ll have a simple, repeatable workflow to give your t-shirt or poster designs a real street art vibe.

Setting Up Your Photoshop Project
Before diving into brushes and actions, you need a solid canvas. Open Photoshop and create a new document at 12×6 inches with 300 DPI. This resolution ensures crisp details when printing. Place your base image or background on its own layer. Next, import the spray paint brushes, the action file for the stencil effect, and the displacement map.
After installation, confirm each item appears in its panel:
- Brushes should be listed in the Brush Presets section.
- Actions should show up in the drop-down list.
- Displacement map file should live in a folder you can quickly navigate to when prompted.
With these files ready, your workspace is set for the next step: adding your text.
Choosing the Right Typography for Street Art Design
The heart of the spray paint effect is the stencil font. A rigid, geometric typeface mimics how real spray stencils look. Think bold letters with gaps or breaks, ready to fill with paint. In Photoshop, select the Type tool and choose your stencil font. Type out your message or brand name in a contrasting color—white against a dark background works well.
Position your text in the center or along an edge if you want an off-balance, graffiti-tag look. Use the Move tool to adjust spacing between letters (kerning) and the Transform tool (Ctrl+T or Cmd+T) to scale or rotate. Aim for a balanced composition: enough open space around the text allows the paint splatter to shine.
Applying the Spray Paint Effect Action
With your stencil text layer selected, switch to the Actions panel. You’ll see the spray paint effect action you loaded earlier. Expand its list to reveal strength options: Small, Medium, Large, Extreme. For a pronounced look, choose Large. Then press the Play button.
The action will:
- Duplicate your text layer into a new folder.
- Ask you to locate the displacement map file twice—first for shape distortion, then for texture alignment.
- Prompt you to pick a paint color. Choose one of Photoshop’s swatches or enter a hex code.
- Auto-apply a noise and edge mask to mimic overspray.
Once the action finishes, you’ll see your stencil text with realistic paint edges and subtle texture shifts. If the effect feels too light or heavy, undo (Ctrl+Z) and run the action again with a different strength setting.
Preparing for DTF Printing
DTF printing requires special file prep to ensure smooth transfers. In the Actions panel, look for the DTF Friendly action at the bottom of the list. Select it and click Play. This step:
- Converts your design to a single CMYK layer.
- Adds a white underbase layer behind your stencil to ensure vibrant colors.
- Flattens any hidden layers, so only what you see prints.
After this action runs, your file is locked into the DTF workflow. Save it as a high-resolution PNG with transparency preserved, or export a TIFF if your printer software demands it. Now your stencil paint design is ready for film printing and heat pressing onto fabric.
Adding Final Spray Texture and Details
To elevate your design from good to great, layer extra spray paint marks around your text. Select the Brush tool and choose one of the spray paint brushes installed earlier. Lower the brush opacity to around 60% and pick a complementary shade—lighter or darker than your main color. Click around the edges of the stencil letters to create overspray drips, splatters, and random specks.
For extra flair, add geometric shapes or paint drips:
- Use the Shape tool to draw rectangles or triangles behind your text.
- Rasterize the shape layer and run the spray paint brush over it for a unified look.
- Experiment with layer blend modes like Multiply or Screen to blend textures.
Keep your edits on separate layers so you can hide or adjust them later. This lets you fine-tune density and placement without harming your main spray effect.
Conclusion and Next Steps
You’ve just mastered a Photoshop spray paint effect that channels real-world graffiti aesthetics into your designs. This workflow—setting up your document, choosing a stencil font, running the action, prepping for DTF printing, and adding custom texture—gives you a repeatable process for bold, street-art-inspired graphics.
Next, try experimenting with different fonts, paint colors, and background images. Apply the effect to logos, social media banners, or personalized merch to turn your digital art into wearable, printable masterpieces. Keep practicing, and you’ll soon develop your own signature spray paint style.
Ready to Embark on your DTF Journey?
Experience DTF Excellence Today! Get your Sample Pack! See the vibrant colors, durability, and precision we offer firsthand before you invest.
Transform Your Style with our DTF Collection!
Ready to Elevate Your Printing Game? Submit your custom order now and experience:
- Superior color accuracy
- Premium durability
- Fast turnaround times
Click here to start your DTF printing journey!