
Photoshop for DTF: How to Create Halftone Graphics for DTF Prints
Photoshop for DTF: How to Create Halftone Graphics for DTF Prints

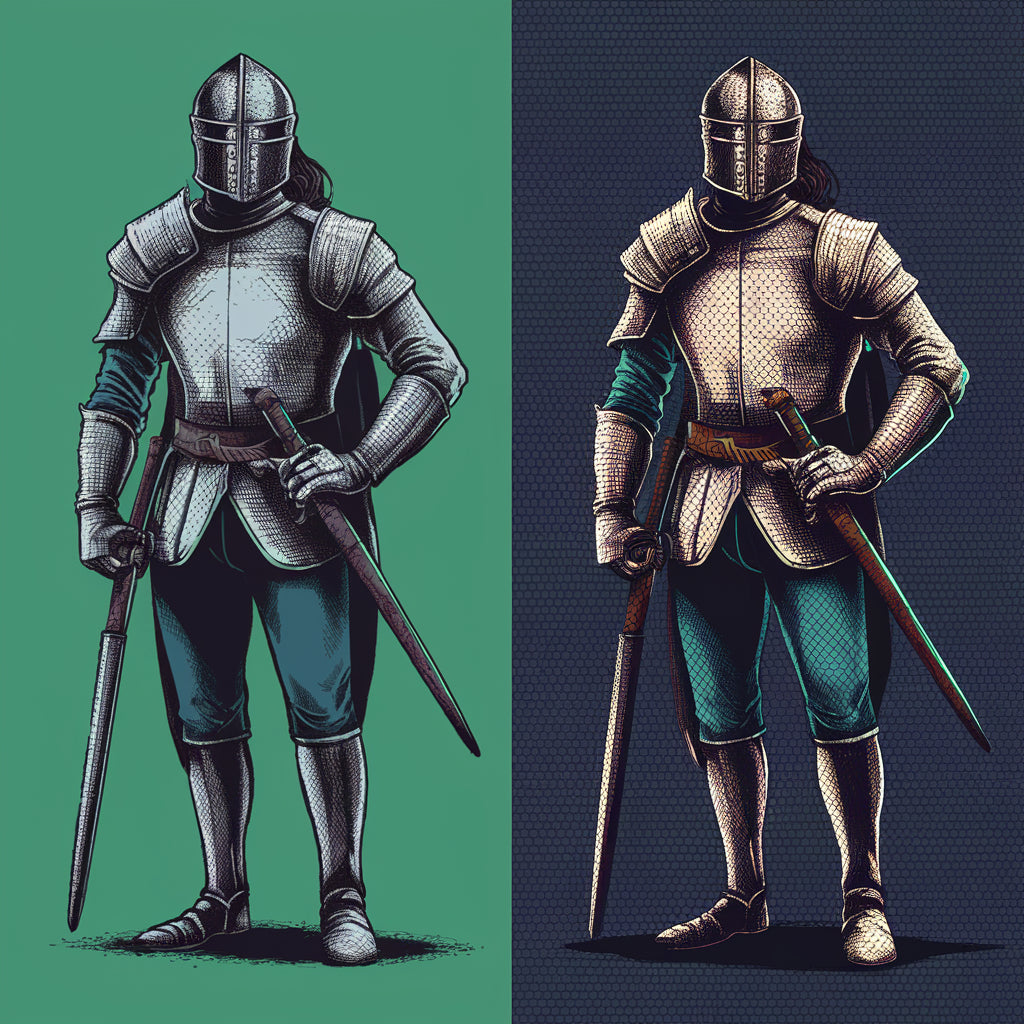
Are you looking to create a soft, breathable DTF t-shirt print that blends seamlessly into the fabric? In this step-by-step guide, we'll show you how to achieve a professional-looking design using halftone effects and a black knockout technique. Let's dive in and learn how to elevate your DTF printing game!
Preparing Your Artwork for DTF Printing
Before we begin, it's crucial to ensure that your artwork is optimized for DTF printing. Here are a few key points to keep in mind:
- Set the resolution of your artwork to 300 PPI for optimal print quality.
- Remove any unwanted background elements, such as black boxes, to ensure a clean and seamless design.
- Check that your artwork doesn't contain gradients, as they may not print well using the DTF method.
Creating Halftone Graphics Effect for a Soft, Blended Look
To achieve a soft, blended look on your DTF t-shirt print, we'll be using halftone effects. Here's how to create them in Photoshop:
- Duplicate your artwork layer and convert it to grayscale.
- Adjust the levels to maximize the white areas while preserving the black details.
- Change the image mode to bitmap and flatten the layer.
- Choose the halftone screen option and experiment with the frequency settings until you achieve the desired effect.
Applying a Black Knockout for Breathability
To make your DTF print more breathable and comfortable to wear, we'll apply a black knockout. This technique removes the black background, allowing the fabric to show through. Here's how to do it:
- Create a mask on your original artwork layer.
- Copy the halftone effect layer and paste it into the mask.
- Toggle the visibility of the mask to preview the final result.
Halftone Printing in CMYK with the Correct DTF Ink
Now that your artwork is ready, it is now time to print your design in your DTF Printer. Here's a sample on how we do it.
- Load DTF transfer film into your printer.
- Use a DTF-compatible printer with special DTF inks (white ink is necessary for most designs).
- Print the design in mirror image on the film. Start with white ink where necessary, followed by CMYK colors.
Pressing Your DTF Transfer onto a Black T-Shirt
Now that your artwork is ready, it's time to press your DTF transfer onto a black t-shirt using a heat press. Follow these steps for the best results:
- Set your heat press to 300°F and 7 seconds with heavy pressure.
- Position your t-shirt on the heat press, ensuring that the neck seam is above the padding to avoid creases.
- Center your DTF transfer on the t-shirt using a measurement ruler.
- Press the transfer for 7 seconds, then remove the shirt from the press and let it cool.
- Carefully peel away the transfer film, using a microfiber cloth to help release any fine details.
FAQs: Questions You'll Need to Step-up Your Game
What is a DTF Heat Press
A DTF (Direct-to-Film) Heat Press is a specialized machine designed to transfer printed designs from a DTF transfer film onto various fabrics. It operates by applying controlled heat and pressure to the film and fabric, ensuring that the printed design adheres securely and accurately. This type of heat press is essential in the DTF transfer process, which involves printing a design onto a special film, applying a hot melt adhesive powder, curing the powder, and then pressing the film onto the fabric. The DTF heat press ensures the design is transferred evenly, with vibrant colors and strong durability. It typically features adjustable temperature, pressure, and timing settings to accommodate different fabric types and ensure optimal transfer quality. This makes it a versatile and indispensable tool in custom garment printing, allowing for detailed and high-quality prints on a wide range of materials.
What is the best DPI for my DTF Printer
What is DTF Halftone and Gradient Effect
DTF Halftone and Gradient Effects are techniques used to enhance the visual appeal of printed designs by creating depth, shading, and a range of tones. Halftone involves breaking down an image into a series of dots varying in size or spacing to simulate gradients and shades, commonly used for printing complex images with limited color palettes. In DTF printing, halftone effects enable detailed and intricate designs, maintaining high quality while using less ink. Gradient Effect refers to the smooth transition between colors or shades in a design. In DTF printing, gradients are crucial for achieving realistic and dynamic images, allowing for subtle shifts in color that add dimension and visual interest. Both effects are crucial for producing high-quality, visually appealing prints on various fabrics, enhancing the versatility and creative potential of DTF printing technology.
Conclusion
By following these steps and using the halftone effect and black knockout techniques, you can create soft, breathable, and professional-looking DTF t-shirt prints. Remember to always optimize your artwork for DTF printing and experiment with different settings to achieve the perfect look for your designs.
With a little practice and patience, you'll be creating stunning DTF heat transfers that your customers will love wearing. Happy printing!