Mastering DTF Printing: Achieving Breathable and Vibrant T-Shirt Designs
If you're tired of your Direct-to-Film (DTF) prints feeling heavy and unbreathable, you're not alone. Many designers face this challenge, especially when dealing with complex designs that require gradient effects. The good news is that there's a way to transform your prints into lightweight, vibrant masterpieces using techniques like color range selection, black knockout effects, and halftones. In this guide, we'll walk you through the process of creating stunning DTF designs, step by step.
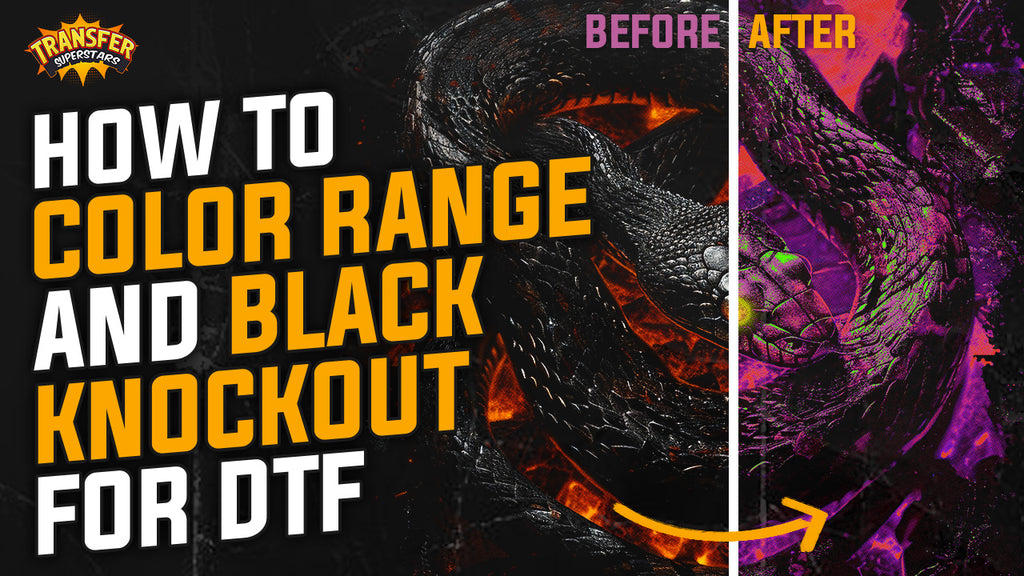
Table of Contents
- Understanding the Basics of DTF Printing
- The Power of Color Range Selection
- Applying Halftones for a Breathable Design
- Creating a Black Knockout Effect
- Experimenting with Midtones and Highlights
- Pressing and Finalizing Your Design
- Conclusion: Embrace the Versatility of DTF Printing
Understanding the Basics of DTF Printing
Before diving into the advanced techniques, it's essential to understand the basics of DTF printing. DTF is a popular method for transferring designs onto fabrics, especially T-shirts. It involves printing a design onto a special film and then transferring it onto the fabric using heat. While this method is versatile and allows for vibrant colors, it can sometimes result in heavy prints that are uncomfortable to wear.
The Power of Color Range Selection
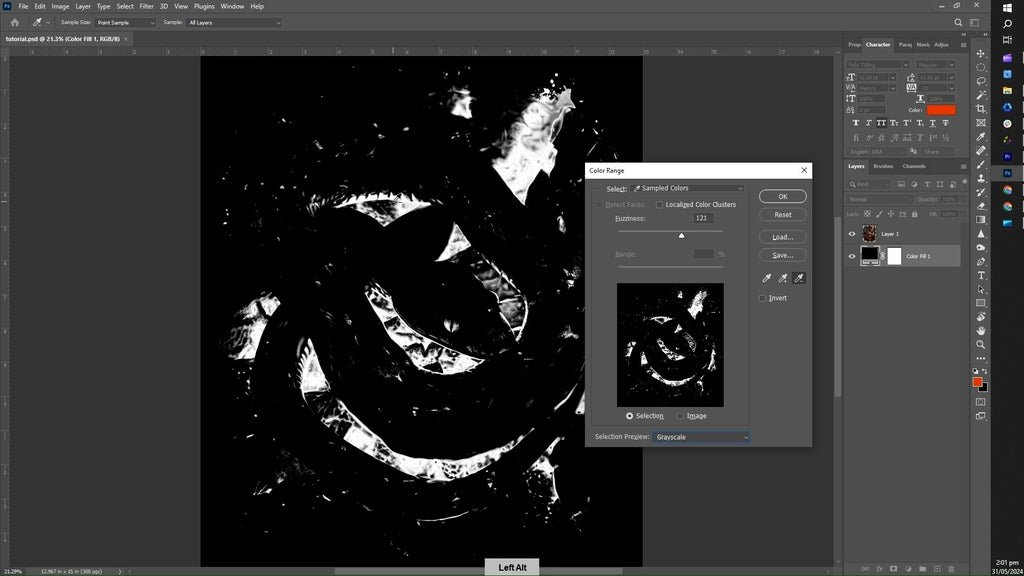
One of the key techniques to improve your DTF prints is using the color range selection tool in Photoshop. This tool allows you to isolate specific colors within an image, making it easier to edit them without affecting the rest of the design.
-
Step 1: Open Your Image
Start by opening your image in Photoshop. For this tutorial, we'll use a snake design as an example. -
Step 2: Create a New Layer
To begin, create a new layer for your background. Select a solid color—black works well for contrast. -
Step 3: Use the Color Range Tool
Navigate to the top menu, select 'Select,' and then 'Color Range.' This will open a dialog box where you can choose the colors you want to work with. The selected colors will appear white in the preview, while unselected areas will be black. -
Step 4: Fine-Tune Your Selection
Use the eyedropper tool to select colors in your image. You can add or subtract colors from your selection by holding down the Shift key or the Alt/Option key, respectively.
Applying Halftones for a Breathable Design
Halftones are an excellent way to add texture and depth to your designs without adding bulk. This technique converts gradients into dots, which are less dense and more breathable.

-
Step 1: Convert to Grayscale
After selecting your colors, convert the image to grayscale by navigating to 'Image,' then 'Mode,' and selecting 'Grayscale.' -
Step 2: Adjust Levels
Enhance your image's shadows and highlights by adjusting the levels. This step is crucial for achieving the right contrast before applying halftones. -
Step 3: Apply the Halftone Effect
Convert your image to a bitmap by selecting 'Image,' 'Mode,' and then 'Bitmap.' Set the output resolution to 300 DPI, and choose a frequency of 40 for the halftone pattern. Experiment with different shapes and angles to achieve the desired effect.
Creating a Black Knockout Effect
The black knockout effect is a technique used to remove black areas from your design, making it more breathable and visually appealing.
-
Step 1: Select Black Areas
Use the Magic Wand tool to select black parts of your halftone image. Then, go to 'Select' and choose 'Similar' to select all similar areas. -
Step 2: Add a Layer Mask
Add a layer mask to hide the selected black areas. This step effectively removes the black from your design, leaving only the colored parts. -
Step 3: Apply Color Overlay
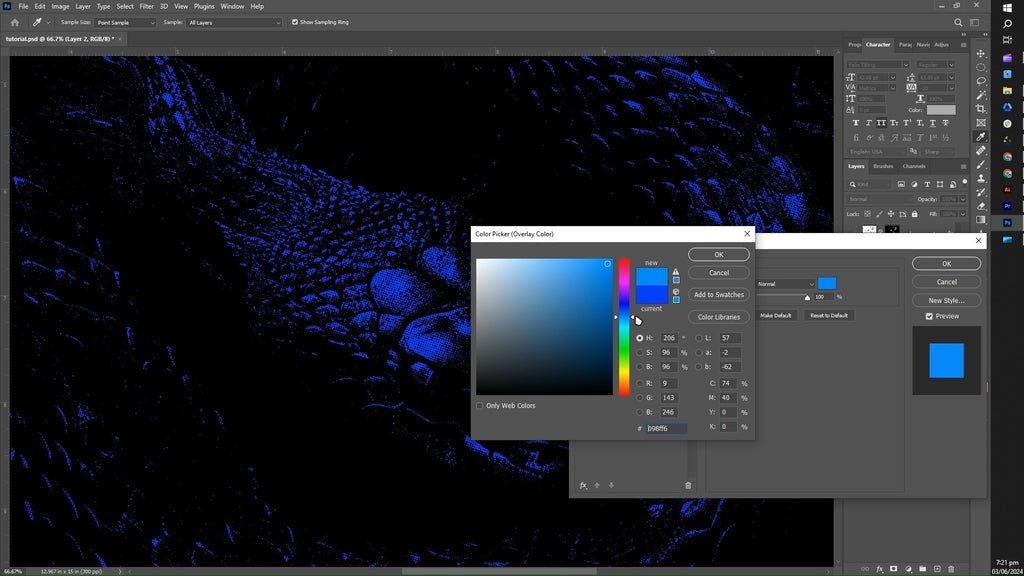
To make your design pop, apply a color overlay. Choose a color that complements your design—red is a great choice for contrast.
Experimenting with Midtones and Highlights
To add more depth to your design, repeat the color range and halftone process for midtones and highlights.

-
Step 1: Select Midtones
Use the color range tool to select midtones. Adjust the fuzziness setting to include a broader range of colors if needed. -
Step 2: Apply Halftone and Color Overlay
Convert the midtones to halftones and apply a color overlay. Light blue is a good choice for visibility against a dark background. -
Step 3: Highlight Selection
Finally, select the highlights of your image and apply the same process. Choose a bright color like green to make the highlights stand out.
Pressing and Finalizing Your Design
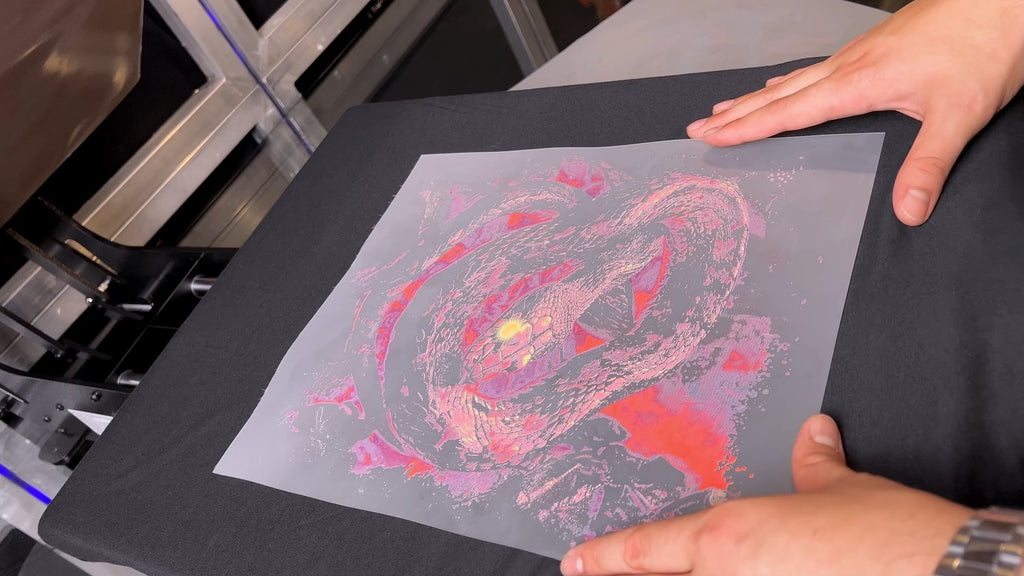
Once your design is ready, it's time to transfer it onto a T-shirt. Use a heat press to ensure the design adheres well to the fabric.
-
Step 1: Prepare Your T-Shirt
Use a high-quality blank T-shirt, such as the Bella Canvas black shirts, for the best results. -
Step 2: Heat Press the Design
Carefully align your design on the T-shirt and use a heat press to transfer it. Ensure the press is set to the correct temperature and pressure for optimal results. -
Step 3: Evaluate the Final Product
After pressing, evaluate your design. Check for any wrinkles or areas that may need additional pressing.

Conclusion: Embrace the Versatility of DTF Printing
By mastering these techniques, you can create DTF prints that are not only vibrant and eye-catching but also comfortable to wear. The combination of color range selection, halftones, and black knockout effects allows for endless creativity and customization. Don't be afraid to experiment with different settings and colors to achieve the perfect look for your designs. Happy printing!
For a thorough understanding of how to heat press DTF (Direct to Film) transfers, explore our in-depth Step-by-Step Guide for comprehensive details and expert insights.
You'll also find a comprehensive guide on how to properly use a Heat Press, including the correct way to Heat Press DTF transfers.
Additionally, we help you understand the difference between various Peel techniques, so you can choose the best one for your needs. Discover more about these Peel methods and their advantages on our blog.


