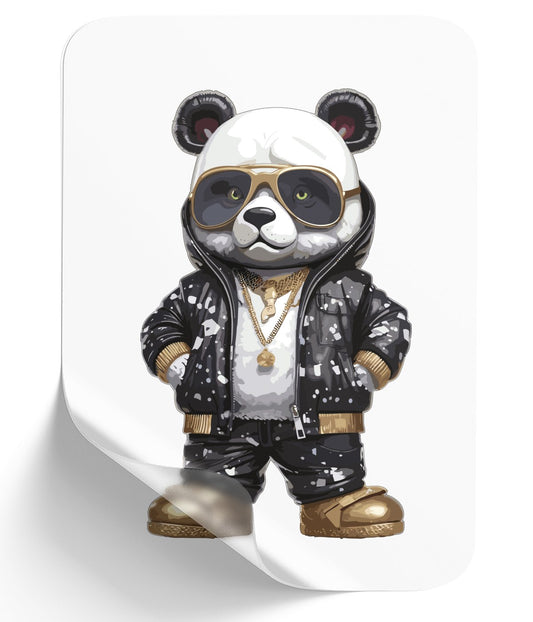
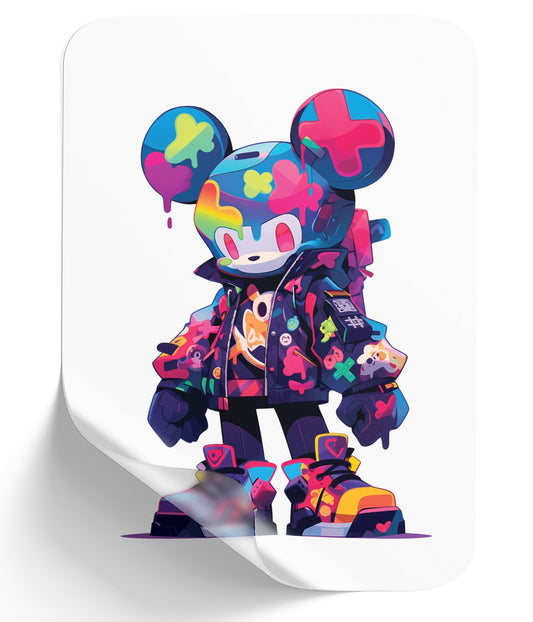
Mastering Image Quality for DTF Transfers: A Step-by-Step Guide to Flawless Prints
Table of Contents
- Why Image Resolution Matters in DTF Printing
- Key Tools to Check and Fix Image Quality
- Common DTF Image Mistakes (and How to Avoid Them)
- Step-by-Step: Prepping a Design for DTF Success
- Conclusion: Elevate Your DTF Game with Smarter Prep Work

Creating vibrant, long-lasting DTF (Direct-to-Film) transfers starts with one critical step: optimizing your image quality. Poorly prepared designs lead to blurry prints, wasted materials, and frustrated customers. This guide breaks down the essentials of DTF image preparation, using free tools and practical tips to ensure your designs print perfectly every time.
Why Image Resolution Matters in DTF Printing
DTF printing relies on sharp, high-resolution images to produce crisp details and bold colors. When your design has low resolution (measured in DPI, or dots per inch), the printer struggles to recreate fine lines and gradients. This results in pixelated edges, faded colors, and a unprofessional finish.
For example, a design saved at 72 DPI might look fine on a phone screen, but enlarging it to 10 inches for a T-shirt reduces clarity dramatically. The pixels stretch, creating a fuzzy, low-quality print. This is why experts recommend 300 DPI as the gold standard for DTF transfers. At this resolution, every inch of your design contains enough detail to stay sharp, even when scaled up.
Key Tools to Check and Fix Image Quality
Photopea: Your Free Photoshop Alternative
Photopea (photopea.com) is a browser-based editor that lets you inspect DPI, dimensions, and transparency. Here’s how to use it:
- Step 1: Open your design and navigate to Image > Image Size.
- Step 2: Switch units to inches to see the current DPI.
- Step 3: Adjust the width/height while keeping "Resample" unchecked to avoid stretching pixels.
If your design is 72 DPI at 6x8 inches, resizing it to 12 inches without resampling drops the DPI to 36—far below the 300 threshold. Photopea highlights these issues, letting you spot problems before printing.
Print Ready Flow: Advanced Pre-Print Checks
This web-based tool (invite-only) acts like a "DTF doctor," scanning designs for:
- Semi-transparent pixels (which create cloudy edges).
- Low-resolution areas needing upscaling.
- Unwanted backgrounds that might interfere with transfers.
Upload a file, and the tool generates a heatmap of problem areas. A slider lets you toggle between the original image and its transparency mask, revealing hidden flaws like jagged edges or faint shadows.
Gangsheet Builder: Visualize Print Layouts
Transfersuperstars’ Gangsheet Builder helps arrange multiple designs on a single sheet. After uploading files, the tool outlines each image in green (print-ready) or red (needs fixes). For instance, a 2.16x3-inch design at 300 DPI gets a green border, but enlarging it to 7x10 inches drops the DPI to 92, triggering a red warning.
Common DTF Image Mistakes (and How to Avoid Them)
Mistake #1: Ignoring File Formats
- Vector vs. Raster: Vector files (SVG, AI) scale infinitely without quality loss, making them ideal for logos/text. Raster images (PNG, JPEG) work for photos but require 300 DPI at full size.
- Transparency Issues: PNGs with "invisible" backgrounds often contain semi-transparent pixels. These print as faint halos around designs. Use Print Ready Flow’s slider to detect and clean up edges.
Mistake #2: Misunderstanding Color Modes
- RGB vs. CMYK: Screens use RGB (vibrant, light-based colors), while printers use CMYK (physical ink mixing). Converting RGB designs to CMYK can dull bright greens and blues. Stick to RGB for DTF to maintain vibrancy.
Mistake #3: Skipping the White Underbase
White ink forms the foundation for colors on dark fabrics. If your design lacks a solid white layer, colors appear washed out. RIP software adds this layer automatically, but always preview prints to ensure coverage.
Step-by-Step: Prepping a Design for DTF Success
1. Start with High-Resolution Artwork
- Use 300 DPI images or vector files.
- Upscale low-res designs using tools like Print Ready Flow’s AI upscaler.
2. Check for Transparency and Edges
- In Photopea, add a temporary colored background to spot semi-transparent pixels.
- Run the file through Print Ready Flow to auto-detect problem areas.
3. Test with a Gangsheet
- Arrange designs in the Gangsheet Builder to visualize final print size.
- Adjust dimensions until all images show green "print-ready" borders.
4. Print a Sample Transfer
- Use scrap fabric to test colors, clarity, and adhesion.
- Adjust heat press settings (typically 320°F for 15 seconds) if details blur.
Conclusion: Elevate Your DTF Game with Smarter Prep Work
Great DTF prints don’t happen by accident—they’re built on high-resolution files, smart tools, and attention to detail. By using free resources like Photopea and Gangsheet Builder, you’ll catch costly errors early, reduce reprints, and deliver professional-quality transfers every time.
Ready to Embark on your DTF Journey?
Experience DTF Excellence Today! Get your Sample Pack! See the vibrant colors, durability, and precision we offer firsthand before you invest.
Transform Your Style with our DTF Collection!
Ready to Elevate Your Printing Game? Submit your custom order now and experience:
- Superior color accuracy
- Premium durability
- Fast turnaround times
Click here to start your DTF printing journey!