How to Turn Any Image into Graffiti Style Artwork Using Kittl for Stunning DTF Prints
Graffiti-inspired artwork has become one of the most exciting trends in custom apparel. Its bold colors, expressive lettering, and urban style instantly grab attention, making it perfect for t-shirts, hoodies, tote bags, and other print-on-demand products. The best part is that we no longer need years of artistic experience or expensive design software to create professional-looking graffiti art. Thanks to artificial intelligence and Kittl, we can transform almost any image into an eye-catching graffiti masterpiece in just a few minutes.
In this guide, we'll walk through the complete process of creating graffiti artwork with Kittl, preparing it for Direct-to-Film (DTF) printing, and producing a high-quality finished shirt using the Transfer Superstars DTF Gang Sheet Builder. Along the way, we'll also share helpful tips to make our artwork stand out while keeping our workflow simple and efficient!

Table of Contents
- Why Graffiti Artwork Is Perfect for Custom Apparel
- Why Graffiti Designs Work So Well for DTF Printing
- Getting Started with Kittl AI
- Using Nano Banana Pro to Create Graffiti Artwork
- Fine-Tuning Our AI-Generated Graffiti Design
- Exporting High-Quality Artwork for Printing
- Preparing Our Design with the Transfer Superstars DTF Gang Sheet Builder
- Using Built-In Editing Tools to Improve Artwork
- Building an Efficient DTF Workflow
- Printing Our Graffiti Design with DTF Transfers
- Heat Press Settings for Professional Results
- Seeing the Finished Graffiti Design
- Tips for Creating Better Graffiti Artwork Every Time
- Why AI Is Changing DTF Design Forever
- Conclusion
Why Graffiti Artwork Is Perfect for Custom Apparel
Graffiti is much more than colorful paint sprayed on walls. It has grown into a worldwide art movement that represents creativity, self-expression, and individuality. Every graffiti piece tells a story through vibrant colors, energetic lines, dramatic lettering, and unique textures.
These qualities make graffiti one of the best design styles for apparel.
Bold Colors Instantly Grab Attention
When someone walks by wearing a graffiti-inspired shirt, people naturally notice it. Bright colors create contrast against the fabric, making every detail stand out from across the room.
Unlike minimalist artwork that blends into the background, graffiti demands attention. This is especially important for streetwear brands looking to make memorable designs.
Dynamic Lettering Creates Personality
Traditional fonts are clean and predictable.
Graffiti lettering, on the other hand, feels alive. Letters stretch, bend, drip, overlap, and flow together to create movement across the design.
This energy makes every artwork feel custom-made instead of looking like ordinary clip art.
Urban Style Appeals to Many Audiences
Graffiti artwork has become popular far beyond city streets. Today we see graffiti-inspired graphics on:
- Fashion brands
- Sports apparel
- Skateboarding merchandise
- Music merchandise
- Gaming apparel
- Lifestyle clothing
- Event merchandise
Because of its versatility, we can use graffiti effects for almost any niche.
Why Graffiti Designs Work So Well for DTF Printing
Not every design style prints equally well on fabric.
Fortunately, graffiti artwork checks almost every box for DTF printing.
Rich Colors Produce Vibrant Prints
DTF printers reproduce millions of colors extremely well.
Since graffiti artwork often includes colorful gradients, paint splashes, glowing outlines, and layered effects, DTF printing captures these details beautifully.
Instead of losing vibrancy, the artwork often looks even better once pressed onto fabric.
Crisp Lines Stay Sharp
Graffiti relies heavily on bold outlines.
DTF technology excels at reproducing sharp edges without sacrificing detail. Even smaller paint splatters and decorative elements remain visible after printing.
This helps the final product look clean and professional.
Excellent Durability
When properly applied, DTF transfers can last through many washes while maintaining their color and flexibility.
That means customers enjoy long-lasting artwork without worrying about cracks or fading after only a few wears.
Getting Started with Kittl AI
One of the biggest advantages of Kittl is that it combines powerful AI image generation with professional graphic design tools inside one platform.
Instead of switching between multiple programs, we can complete nearly our entire design process in one place.
Create a High-Resolution Canvas
The first step is creating a new project.
For professional DTF printing, we should always work at 300 DPI. This resolution keeps images sharp and prevents blurry prints.
Kittl automatically creates a large canvas that gives us plenty of room to work while maintaining excellent print quality.
Starting with a high-resolution document also means we can resize our artwork later without losing important detail.
Import Our Image
Next, we import the photo or artwork we'd like to transform.
Almost any image can become graffiti-inspired artwork, including:
- Portraits
- Logos
- Mascots
- Animals
- Vehicles
- Characters
- Brand graphics
- Sports designs
The better the original image quality, the better the AI can understand the design and generate impressive results.
Use AI Smartboards
One of Kittl's most useful features is Smartboards.
Rather than editing every element by hand, Smartboards allow us to apply AI prompts that completely transform an image into another artistic style.
For graffiti artwork, this saves countless hours of manual editing.
Instead of drawing every spray paint drip ourselves, AI creates natural-looking effects within seconds.
Using Nano Banana Pro to Create Graffiti Artwork
Kittl's Nano Banana Pro model does an excellent job interpreting creative prompts.
After selecting the Smartboard, we simply paste our prepared graffiti prompt and generate the artwork.
Within moments, the AI produces an entirely new version of our design.
Every Generation Is Different
One of the exciting parts about AI art is that every generation produces something unique.
Even when using the exact same prompt, the AI creates different:
- Color palettes
- Lettering styles
- Paint drips
- Textures
- Background details
- Shapes
- Highlights
Because of this, we rarely settle for the first result.
Instead, we generate several options before choosing our favorite.
Sometimes the second or third version looks dramatically better than the first.
Look for Natural Graffiti Details
As we compare versions, we should pay attention to details that make the artwork feel authentic.
These include:
- Paint splashes
- Spray texture
- Rough outlines
- Color transitions
- Layered lettering
- Shadow effects
- Dripping paint
These imperfections actually make graffiti feel more realistic.
If everything looks perfectly clean, the artwork can lose the energetic personality that makes graffiti so appealing.
Fine-Tuning Our AI-Generated Graffiti Design
Once we have several AI-generated options, the next step is choosing the version that best fits our project. While AI can create impressive artwork, spending a few extra minutes reviewing each design can make a huge difference in the final print.
Instead of picking the first image we see, we should compare several versions side by side. Sometimes a design has better colors, while another has stronger lettering or more realistic spray paint effects. Taking the time to choose carefully helps us create artwork that looks more professional.
Focus on Color Balance
Graffiti artwork often uses multiple bright colors, but too many colors competing for attention can make a design look cluttered.
We should look for artwork that has:
- Strong contrast
- Clear focal points
- Balanced highlights
- Easy-to-read lettering
- Smooth color transitions
A balanced design catches the eye without overwhelming the viewer.
Make Sure Important Details Stay Visible
Many AI-generated images contain small decorative details like paint splashes, cracks, or texture effects.
These details add personality, but they should never distract from the main subject. Whether we're creating artwork for a company logo, mascot, or custom illustration, the central design should remain the focus.
If the artwork feels too busy, generating another version is usually faster than trying to fix every detail manually.
Exporting High-Quality Artwork for Printing
Once we're happy with the final design, it's time to prepare it for printing.
Export settings play an important role in maintaining image quality. Even a great-looking design can become blurry if it's exported incorrectly.
Always Export at 300 DPI
Professional DTF printing depends on high-resolution artwork.
Exporting at 300 DPI helps preserve every outline, paint drip, and color gradient. Sharp artwork produces cleaner transfers and better-looking shirts.
Lower resolutions may appear fine on a computer screen, but they often reveal blurry edges once printed.
Select the Correct Artboard
If we've generated multiple Smartboards inside Kittl, we should double-check that we're exporting the correct one.
It's surprisingly easy to download an earlier version by mistake. Taking a few seconds to confirm the selected Smartboard saves us from redoing the entire process later.
Preparing Our Design with the Transfer Superstars DTF Gang Sheet Builder
Creating beautiful artwork is only half the process. We also need to prepare it correctly for printing.
The Transfer Superstars DTF Gang Sheet Builder makes this step much easier by giving us helpful editing tools directly inside the upload process.
Instead of opening another editing program, we can make several adjustments without leaving the website.
Choose the Right Gang Sheet Size
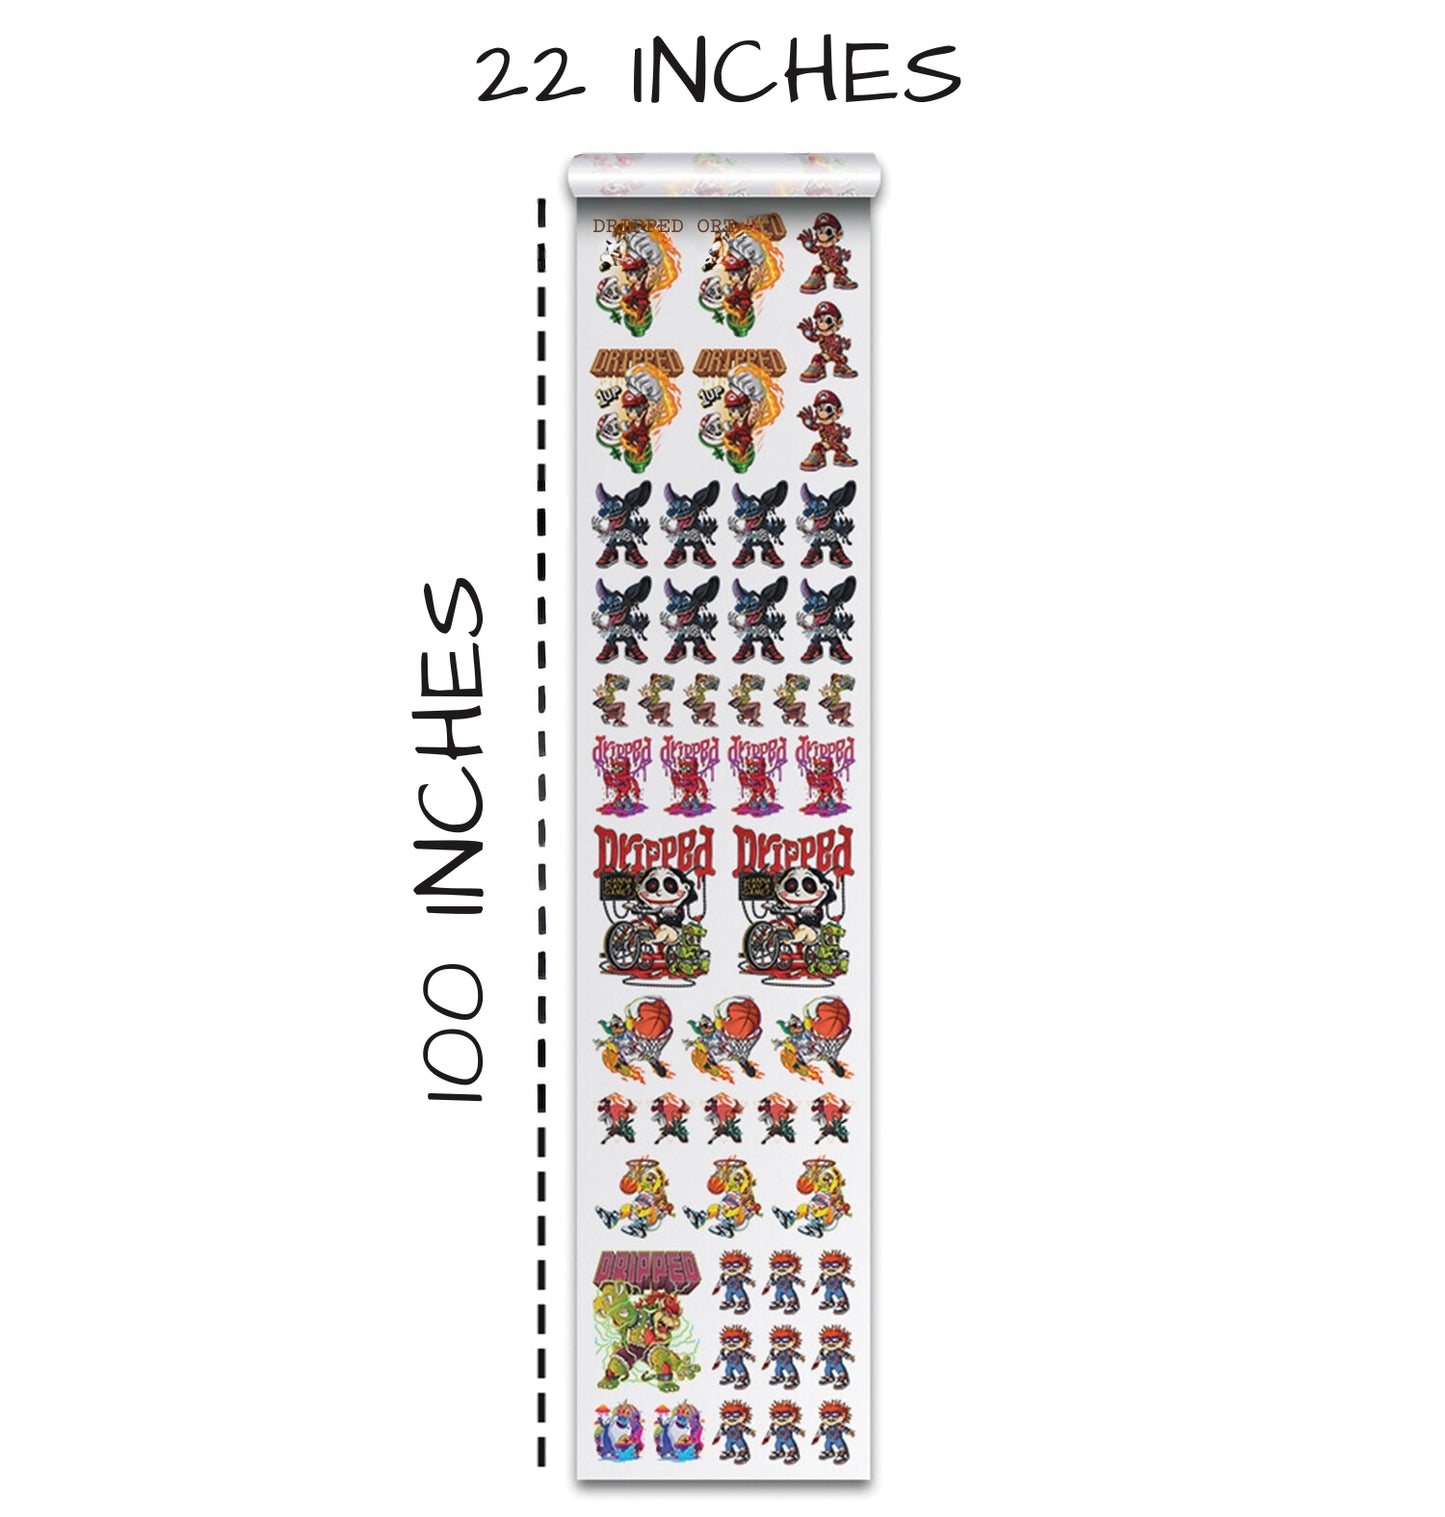
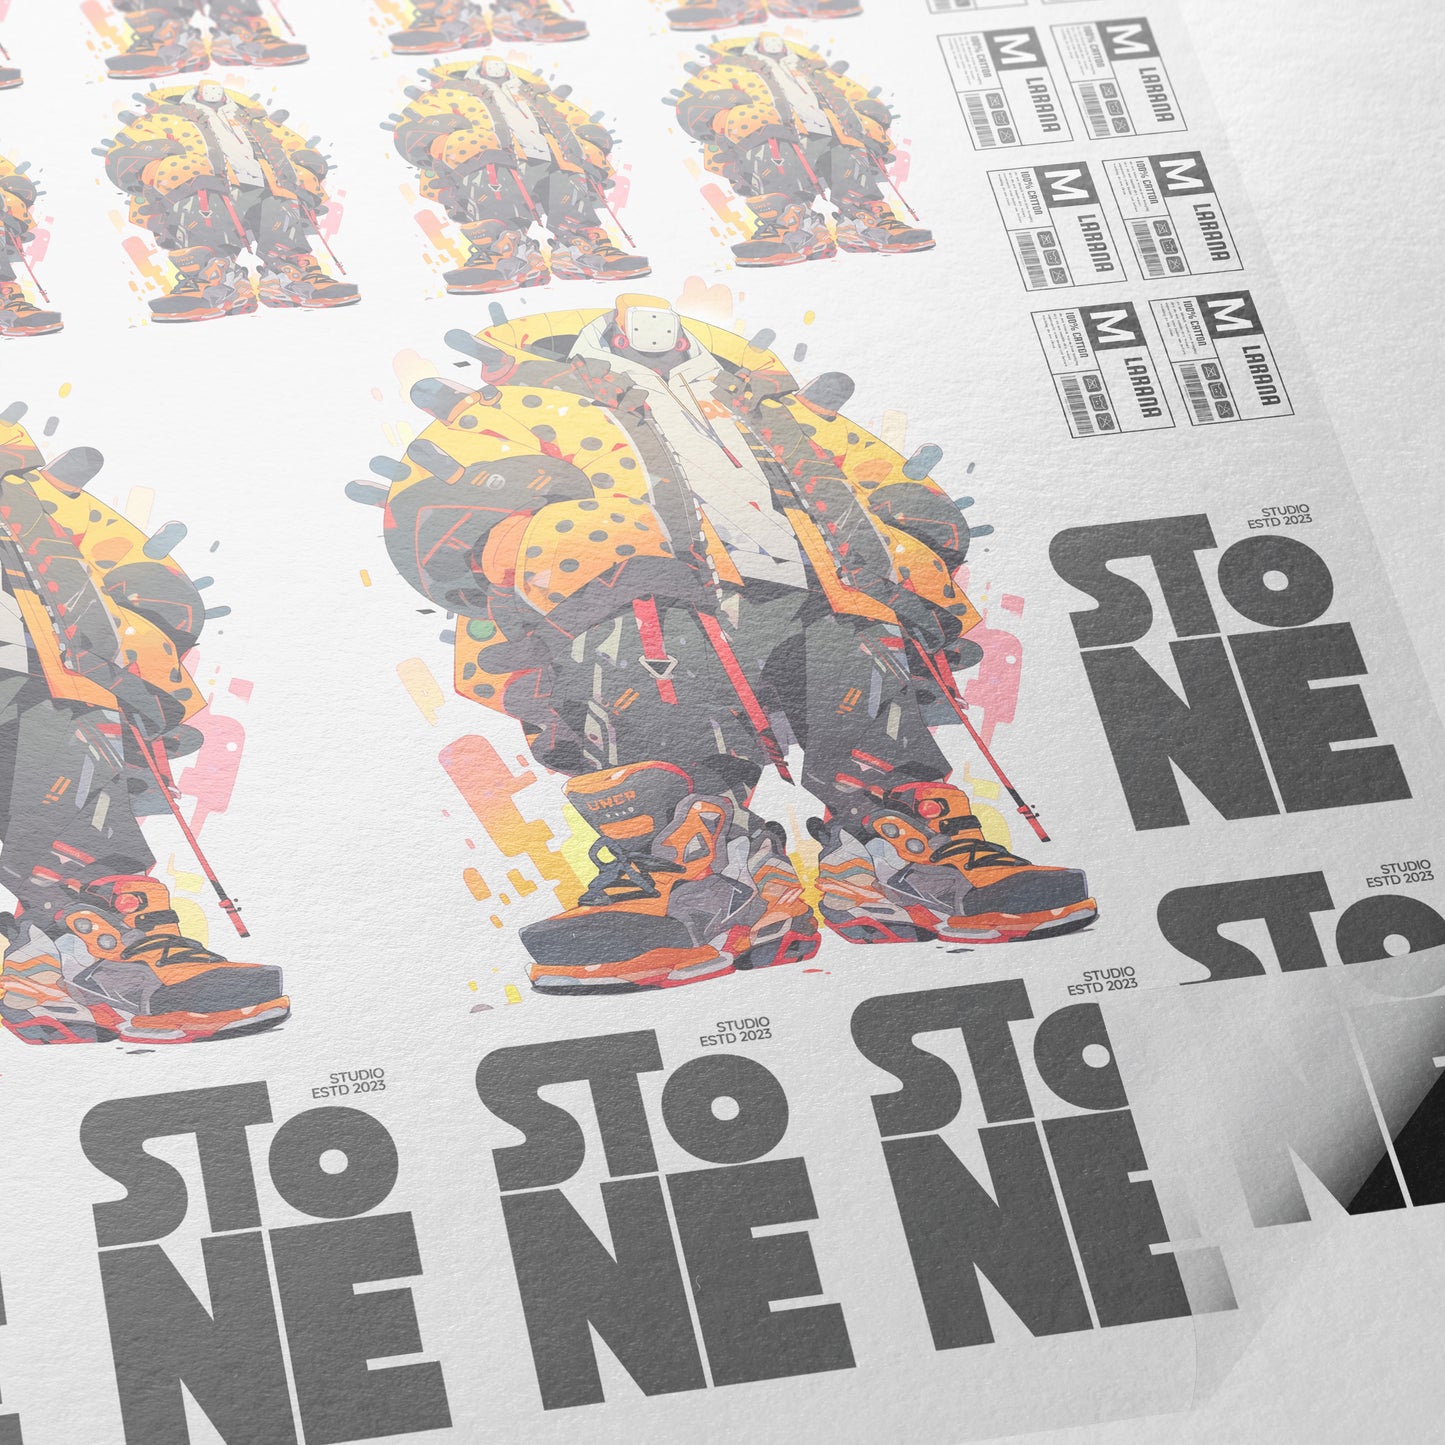
The Gang Sheet Builder offers several sheet sizes, allowing us to print one design or many designs on a single sheet.
Choosing the correct size depends on:
- The number of designs
- Design dimensions
- Order quantity
- Available print space
Carefully arranging multiple graphics on one gang sheet reduces wasted space and helps lower production costs.
This is especially useful for businesses printing multiple logos, front chest graphics, sleeve prints, and large back designs in one order.
Upload Our Artwork
After selecting the gang sheet size, we simply upload our exported artwork.
The builder lets us move, rotate, and resize each design until everything fits perfectly.
Because we can preview the entire sheet before ordering, it's much easier to avoid mistakes.
Using Built-In Editing Tools to Improve Artwork
One feature that makes the Transfer Superstars Gang Sheet Builder especially useful is its collection of built-in editing tools.
These features save time by eliminating the need to switch back and forth between different editing programs.
Remove Backgrounds Instantly
Many images contain unwanted backgrounds that don't belong on apparel.
Instead of manually erasing them in another program, we can use the built-in Remove Background tool.
This creates a clean design that's ready for printing in just a few clicks.
Clean edges help produce transfers that look much more professional on finished garments.
Improve Image Quality
Sometimes customers submit artwork that's too small or slightly blurry.
The Upscale Quality feature helps improve image resolution before printing.
While no tool can completely recreate missing detail, AI upscaling often makes lower-resolution artwork noticeably sharper.
This can save an order that might otherwise require requesting a new file from the customer.
Apply Halftone Effects
Halftones are popular in apparel design because they add depth while reducing solid ink coverage.
The built-in halftone tool allows us to create:
- Vintage effects
- Comic book styles
- Gradient transitions
- Artistic textures
Graffiti artwork often looks even more dynamic when combined with subtle halftone patterns.
Crop and Adjust Colors
The Crop tool lets us remove unnecessary empty space around a design.
Meanwhile, the Color tools allow us to make quick adjustments before printing.
These simple editing features help us finalize artwork without reopening our design software.
Building an Efficient DTF Workflow
One of the biggest lessons from this project is that we don't need a dozen different applications to create amazing apparel graphics.
Years ago, a graffiti-inspired shirt might have required several programs for illustration, photo editing, typography, background removal, and print preparation.
Today, much of that workflow can happen inside just two platforms:
- Kittl for AI-powered design creation
- Transfer Superstars for gang sheet preparation and printing
Reducing the number of tools we use makes our workflow faster, simpler, and easier to learn.
Instead of spending hours moving files between programs, we can focus more on creativity and less on technical steps.
Whether we're creating one custom shirt or hundreds of transfers for customers, a streamlined workflow saves valuable time while producing consistent, professional results.
Printing Our Graffiti Design with DTF Transfers
Now that our artwork is complete and our gang sheet is ready, it's time to bring the design to life. This is where all of our creative work pays off. A properly printed DTF transfer can capture every paint drip, bold outline, and vibrant color that makes graffiti artwork so exciting.
By following the right printing and pressing techniques, we can achieve a professional finish that looks like it came straight from a premium clothing brand.
Choosing the Right Blank Apparel
The shirt we choose is just as important as the artwork itself.
Even the best design won't look its best on a poor-quality garment. High-quality shirts hold their shape better, feel softer, and allow DTF transfers to shine.
Premium blanks also help maintain vibrant colors after repeated washing.
When selecting apparel, consider factors such as:
- Soft, comfortable fabric
- Smooth printing surface
- Consistent sizing
- Durable stitching
- Good color retention
A quality blank creates a better experience for both us and our customers.
Light Shirts Make Colors Pop
Graffiti artwork often includes bright blues, reds, yellows, greens, and pinks. These colors look especially vibrant on white or light-colored garments.
The high contrast allows every detail to stand out, making the finished design look bold and eye-catching.
That doesn't mean dark shirts are a bad choice. DTF printing performs exceptionally well on darker fabrics too, giving us plenty of creative freedom.
Heat Press Settings for Professional Results
Applying a DTF transfer correctly is just as important as creating the artwork.
Even a perfect design can fail if the press settings are incorrect.
For this project, the transfer was applied using:
- Temperature: 300°F
- Press Time: 10 seconds
- Pressure: Heavy
Some heat presses only allow time settings in five-second increments. While many DTF transfers recommend a seven-second press, using ten seconds on this type of machine still produces excellent results.
Always check the recommendations provided by your transfer supplier and adjust based on your specific equipment.
Align the Design Carefully
Before pressing, we should take a few extra moments to position the artwork correctly.
Simple alignment techniques can help us center the design perfectly.
Many decorators use:
- Fold lines
- Shirt rulers
- Alignment lasers
- Measuring guides
Proper positioning gives every finished shirt a clean, professional appearance.
When printing both front and back graphics, consistency becomes even more important.
Don't Rush the Peel
One common mistake is peeling the transfer too quickly.
Although many DTF transfers support both hot and cold peeling, waiting a few extra seconds can help preserve fine details.
This is especially important for graffiti artwork because it often includes:
- Small paint splashes
- Thin outlines
- Tiny highlights
- Detailed textures
Giving the transfer a brief moment to cool helps ensure every detail stays firmly attached to the garment.
Patience during this step can make the difference between a good print and a great one.
Use a Second Press for an Even Better Finish
Many experienced DTF decorators recommend performing a second press after removing the transfer film.
This extra step helps improve both the appearance and durability of the finished print.
A second press can:
- Improve adhesion
- Reduce surface shine
- Create a softer feel
- Enhance durability
- Produce a more professional finish
Using a matte finishing sheet during the second press can also create a subtle textured appearance that complements graffiti artwork.
The finished design feels more natural on the shirt while maintaining excellent color vibrancy.
Seeing the Finished Graffiti Design
After pressing, the transformation is remarkable.
What started as an ordinary image has become a bold graffiti-inspired piece that looks hand-painted onto the fabric.
The layered colors, dripping paint effects, textured outlines, and expressive lettering all work together to create a design full of personality.
One of the most impressive aspects of AI-generated graffiti is how authentic it appears. Many people would assume the artwork was painted by hand rather than generated digitally.
That level of realism makes AI an incredibly valuable tool for apparel creators.
Tips for Creating Better Graffiti Artwork Every Time
As we continue creating graffiti-inspired designs, a few simple habits can dramatically improve our results.
Generate Multiple Versions
AI rarely creates the perfect design on the first attempt.
Instead of settling immediately, we should generate several variations.
Each version may offer:
- Better lettering
- Stronger color combinations
- More realistic textures
- Cleaner composition
- More exciting visual effects
Having multiple options allows us to choose the strongest final design.
Keep the Main Subject Clear
Graffiti is energetic, but it should never become confusing.
Whether we're designing a mascot, logo, illustration, or portrait, viewers should immediately recognize the main subject.
Too many background elements can distract from the overall message.
Think About the Finished Shirt
Designing for apparel is different from designing for a computer screen.
We should regularly ask ourselves:
- Will this look good from several feet away?
- Is the lettering readable?
- Are the important details large enough?
- Does the design have enough contrast?
Keeping the final product in mind helps us make smarter design decisions throughout the creative process.
Why AI Is Changing DTF Design Forever
Artificial intelligence is making professional-quality design accessible to more people than ever before.
Tasks that once required years of artistic training can now be completed in minutes with the right tools.
That doesn't replace creativity—it enhances it.
AI handles repetitive work while allowing us to focus on ideas, storytelling, branding, and design direction.
Instead of spending hours drawing every spray paint effect manually, we can experiment with different concepts until we discover the perfect look.
This faster creative process benefits:
- Small businesses
- Print shops
- Etsy sellers
- Clothing brands
- Hobbyists
- Content creators
As AI continues to improve, we'll have even more opportunities to create unique products that stand out in a competitive market.
Conclusion
Creating graffiti-style artwork has never been more accessible. By combining Kittl's AI-powered design tools with the Nano Banana Pro model, we can transform ordinary photos, logos, and illustrations into vibrant street art in just a few clicks. Instead of relying on expensive software or advanced illustration skills, we can let AI handle much of the creative heavy lifting while we focus on refining the final design.
Once our artwork is ready, the Transfer Superstars DTF Gang Sheet Builder makes preparing files for print simple with built-in tools like background removal, image upscaling, halftones, cropping, and color adjustments. After arranging our gang sheet, all that's left is pressing the transfer using the proper heat settings and finishing it with a second press for a soft, durable result.
As AI design tools continue to evolve, creating custom apparel will only become faster and more exciting. Whether we're building a clothing brand, producing merchandise for clients, or simply making unique shirts for ourselves, graffiti-style artwork offers an eye-catching way to stand out. By combining creative AI workflows with high-quality DTF printing, we can produce bold, professional designs that look like they came straight from the streets while remaining ready for everyday wear.
Ready to Embark on your DTF Journey?
Experience DTF Excellence Today! Get your Sample Pack! See the vibrant colors, durability, and precision we offer firsthand before you invest.
Transform Your Style with our DTF Collection!
Ready to Elevate Your Printing Game? Submit your custom order now and experience:
- Superior color accuracy
- Premium durability
- Fast turnaround times
Click here to start your DTF printing journey!