Testing AI Power: Our Head-to-Head Battle for the Best DTF Prints
Table of Contents
- Testing AI Power: Our Head-to-Head Battle for the Best DTF Prints
- The Big Challenge: Getting Ready for High-Quality DTF Transfers
- Designing the Instructions: How We Started the Test
- The Clock Starts: Which Tool is Faster?
- The Print Test: Making Files Ready for DTF Transfers
- Using Our Gang Sheet Builder: The Last Stop for Quality
- The Final Look: Our View on the Finished Shirts
- Our Conclusion: What We Learned for Our DTF Printing Business

The world of custom printing is changing quickly, and we are watching it happen. A new wave of smart tools is promising to make getting a great print easier and faster. For us, a team that focuses on Direct-to-Film (DTF) transfers, having the right design tool is everything. We decided to set up a major comparison between two big players: one, a powerful, general-purpose smart system; and the other, a web-based platform built specifically for design work.
We wanted to find out which one truly wins when it comes to making high-quality, print-ready custom DTF transfers. This experiment was about three simple, but very important, steps: how fast a picture was created, how ready it was for our DTF printing process, and which final design just looked better on a shirt.
The Big Challenge: Getting Ready for High-Quality DTF Transfers
Our main goal was to see if a very smart system, the kind that can write articles and code, could beat a tool that is an expert in graphic design. Both tools had to take the same exact instructions. We knew the final results would not just be two different pictures, but two completely different ways of working.
For this process, we set up a straightforward test. Everything was based on what we need to do every day to get a file ready for printing:
- Time: How long did it take the system to give us a finished image? Speed matters a lot when we have many orders.
- Print Quality: Was the image truly ready for our DTF process? This is the most critical test. A bad file wastes our materials and time.
- Visual Appeal: Which of the final designs looked the best when we pressed it onto a t-shirt? Our customers care about the final look.
Our work relies on tools like the Gang Sheet Builder to prepare our files before they are printed. The entire process, from typing the idea to having a transfer in our hand, must be smooth and professional. The ultimate winner would be the one that gives us a clean, crisp, and high-quality DTF transfer without extra steps.
Designing the Instructions: How We Started the Test
We knew we needed a complicated design to push both systems. Making a detailed image from scratch can take our team a long time, so we used the first smart system as our helper. We took a picture from one of our recent videos and asked the smart system to write the exact instructions that would create a similar image.
This was a major advantage from the start. We found that this system is a powerful partner just for writing the instructions! It proved to us that it could give us a complicated and technical list of things a printer needs.
Our Detailed Instructions
We gave the same instructions to both platforms. They were very specific, just like we would write for one of our own designers.
- The Subject: We asked for a highly detailed black and white picture of a skeletal figure in a dark hooded cloak. The hands were to be clasped together, like in prayer.
- The Frame: We needed the figure to be framed inside a fancy, detailed border, filled with roses and other decorative leaves, making sure everything was balanced.
- The Details for Printing: This was the most important part. We demanded the design be pure monochrome line art with strong contrast, no fading colors, and a balanced overall look. We said it must be screen print ready at 300 DPI and have a perfectly see-through background. We specifically instructed it to “Make all black areas transparent, leaving only white strokes and highlights visible.” This step is essential for a clean DTF print with no heavy background.
By getting the first smart system to write this prompt for us, we established a high technical standard that both systems had to meet.
The Clock Starts: Which Tool is Faster?
Our first official test was simply Time to Create. For our business, a faster design process means faster turnaround for our customers. We set a timer and let them both work.
| Competitor | Time We Waited |
|---|---|
| First Smart System | 1 minute and 40 seconds |
| Dedicated Design Platform | About 25 seconds |
The Faster Tool: The Dedicated Design Platform
The difference was immediately clear: the platform built for design was much quicker.
We were not entirely surprised by this. The platform is an expert tool built for graphic work, optimized to handle these requests fast. The general-purpose smart system is amazing, but the design platform is fine-tuned for this specific job.
Waiting an extra minute for a single picture adds up quickly when we are doing many different designs in a day. For our goal of making custom DTF transfers quickly and efficiently, this first test showed us that speed favors the specialized platform.
The Print Test: Making Files Ready for DTF Transfers
This test was the most crucial. A beautiful picture that can’t be printed correctly is worthless to us. DTF printable designs must be prepared perfectly. The biggest challenge is the knockout, which means removing all unwanted color or background so that the transfer only puts ink on the garment where we want the design.
We checked for a common problem in printing: semi-transparent pixels. If a design has these, it can cause the print to look cloudy, rough, or stick to the film incorrectly.
Our Experience with the First Smart System
The picture from the first smart system was visually stunning. However, when we brought it into our Gang Sheet Builder, the tool gave us an immediate, critical warning.
- The system did not make all the black areas transparent, even though our instructions were very clear.
- The Gang Sheet Builder found semi-transparent pixels, and the warning told us: “Transparent images will not print correctly with DTF unless they are half tone.”
For the sake of the experiment, we printed the file as it was. We knew this meant the final print would likely feel heavy and look like a box on the shirt—the opposite of a professional transfer. The picture was nice, but its lack of technical accuracy made it too risky for a real print job.
Our Experience with the Dedicated Design Platform
The platform built for design also did not perfectly knock out the black color right away. But here is where the difference became clear. Because this platform is a full design tool, we could fix the problem ourselves.
It allowed our team to become the final editor:
- We Vectorized the Image: We turned the pixels into clean, smooth lines, which is great for printing.
- We Manually Fixed the Knockout: We were able to manually select the black color and make it completely see-through.
This manual control is a huge advantage for our DTF work. It means that even if the smart system makes a mistake, we can step in and save the file, guaranteeing it is print-ready. The final transfer from this platform was very clean and breathable.
The Safest Choice: The Dedicated Design Platform
This platform won the printability test. It won because its system gave us the tools we needed to be professional. It showed us that the best tools combine powerful smart generation with essential manual editing options.
Using Our Gang Sheet Builder: The Last Stop for Quality
Our Gang Sheet Builder was a vital part of this whole test. It serves as our last quality control step before we send a job to the printer.
We used the Builder for three key things during the test:
- Catching Mistakes: It immediately flagged the design mistake from the first smart system by finding those semi-transparent pixels. This feature is priceless, as it stops us from wasting expensive film and time on a bad print.
- Sizing Control: The Builder lets us upscale our pictures, making sure smaller, lower-quality images are big enough for a large t-shirt. This is necessary because the size the smart systems create is not always what we need.
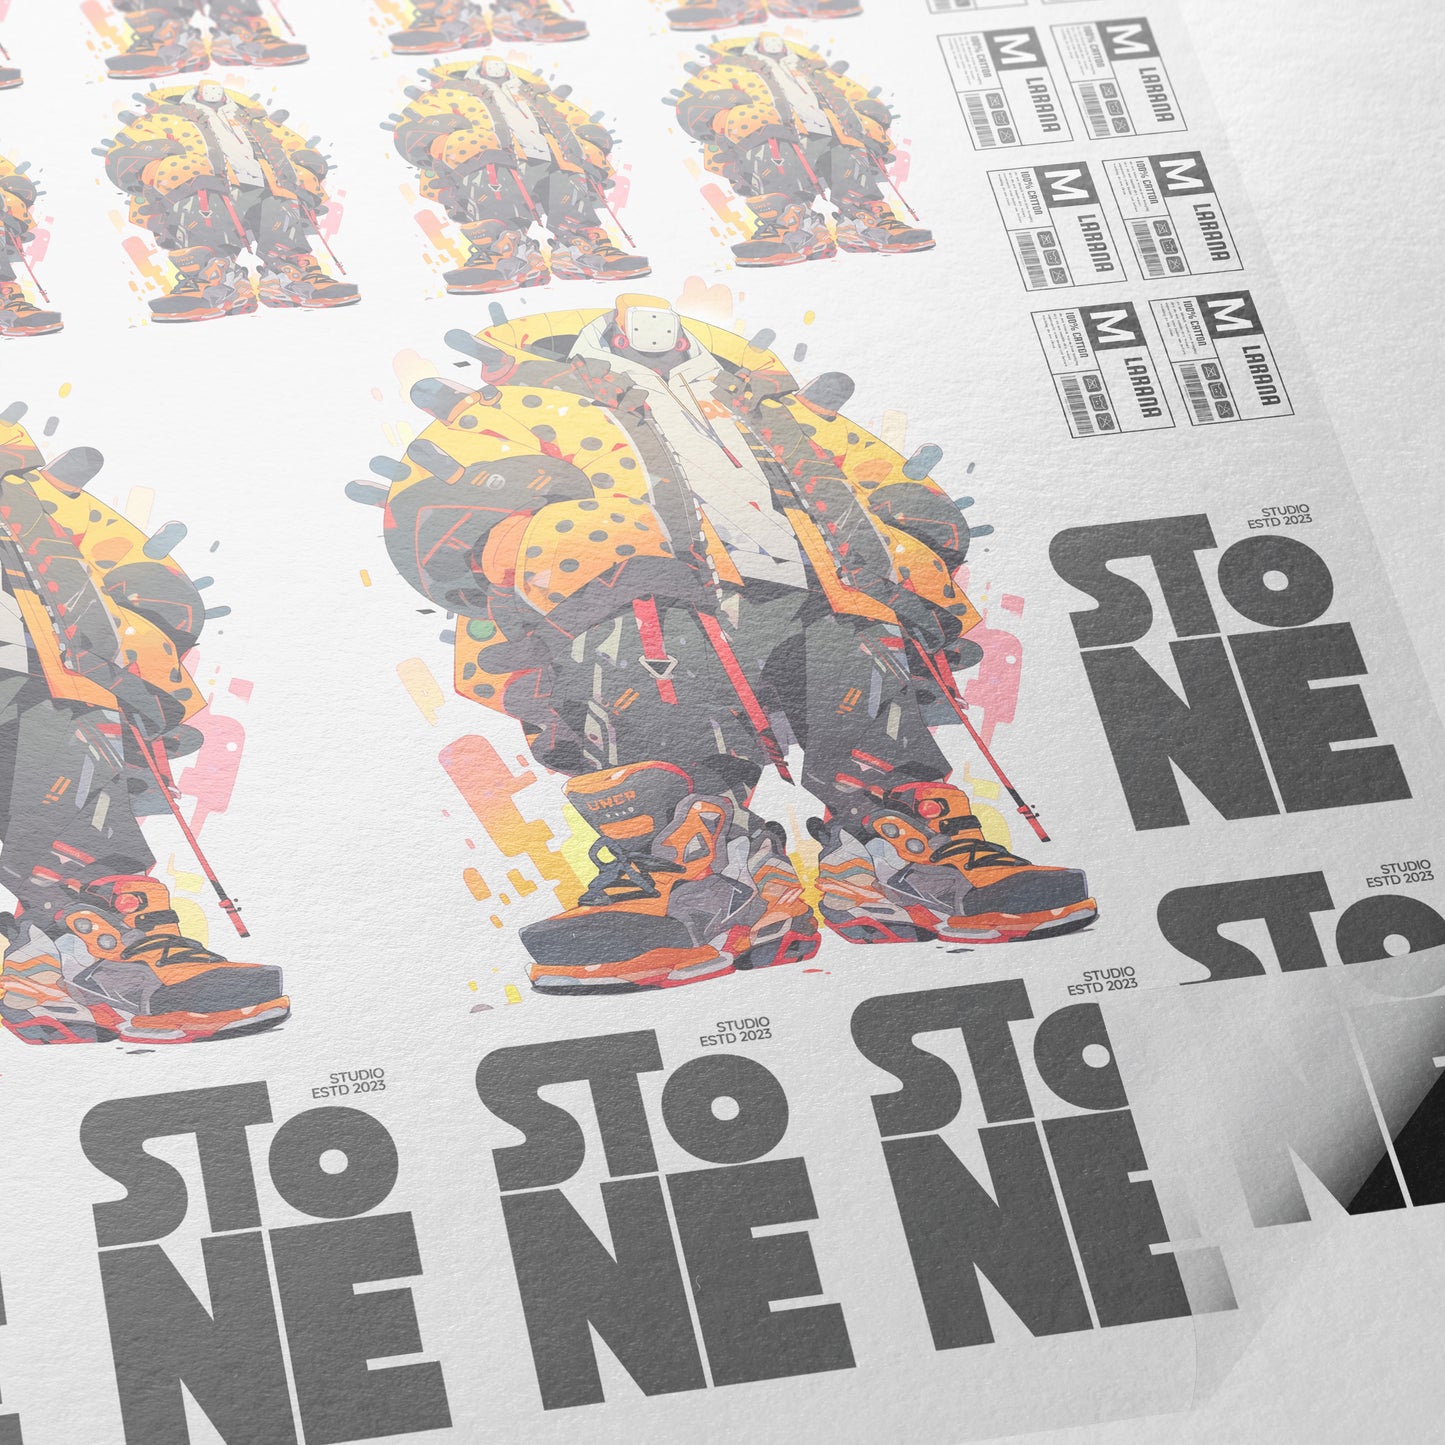
- Saving Money: The main job of a "gang sheet" is to arrange many different pictures on one roll of film to save us money and use every bit of space. We use it to make sure our entire order of custom DTF transfers is ready to go efficiently.
Tools like the Builder are our final quality check, making sure that what looks good on our screen is cost-effective and perfectly laid out on the film.
The Final Look: Our View on the Finished Shirts
After all the technical checks, we printed the designs, cut them out, and pressed them onto two of our best blank t-shirts. This was the moment of truth—seeing which one looked best as a finished product.
Our Favorite Design: The First Smart System’s Aesthetic
When we looked at the shirt, the design from the first smart system was the one we personally liked the most.
- Better Feel: We felt it flowed better with the fabric of the shirt, looking more like part of the garment itself.
- Strong Visuals: We thought it was the stronger-looking design overall.
However, the problem with the knockout was visible. The black parts of the transfer did not exactly match the black of the shirt, and the printed area felt heavier and less breathable on the fabric.
The Cleaner Print: The Dedicated Design Platform’s Result
The print from the design platform was a technical success:
- Clean Edges: It had very crisp, clean cuts on the edges and a perfect knockout.
- Comfort: It felt very breathable and light on the shirt.
But the platform’s smart system created a picture that looked too much like a box for our taste. We do not like designs that look like a simple square sticker on a t-shirt.
The Final Score: The Dedicated Design Platform is the Winner
We had three tests, and the score was:
- Time: Dedicated Design Platform (Win)
- Printability: Dedicated Design Platform (Win)
- Best Look: First Smart System (Win)
We have to be honest: the dedicated platform won the battle because it won the two tests that are most important for our printing business (speed and getting a print-ready file). Even though the first smart system gave us the best-looking idea, the dedicated platform gave us the safer, more reliable DTF printable file.
We believe the final decision is up to our audience. We asked them: if they feel strongly that the first smart system's design is the winner, they can vote for it. The community can choose to override the technical result!
Our Conclusion: What We Learned for Our DTF Printing Business
This comparison taught our team a huge lesson about the tools we use. It showed us that smart systems are incredibly powerful but are still not perfect for printing.
The first smart system’s strength is in ideas and concepts. It can create stunning, complex designs quickly. But it falls short on the technical requirements a professional needs—especially the flawless knockout required for a clean DTF transfer.
The dedicated design platform’s strength is its total control. It is a fast smart system and a complete design tool. It gives us a safety net: we can use the smart system for speed, and then use the platform's manual tools to make sure the file is 100% print-ready. This is what helps us avoid costly mistakes.
Our takeaway for our business: We can’t rely on a raw, unchanged file from any smart system. We must use a platform or a tool that allows us to make final adjustments and quality checks.
Our perfect workflow now looks like this:
- Get the Idea: We use a smart system for a quick, complex design idea.
- Clean the File: We use a design platform with manual control to perfect the knockout and get a high-quality, clean image.
- Final Check: We upload the design to our Gang Sheet Builder to confirm there are no warnings and that we have used our print space perfectly.
We will keep doing these tests and sharing what we learn. We want our viewers to follow along to see which designs ultimately win the battle in the DTF world!
Ready to Embark on your DTF Journey?
Experience DTF Excellence Today! Get your Sample Pack! See the vibrant colors, durability, and precision we offer firsthand before you invest.
Transform Your Style with our DTF Collection!
Ready to Elevate Your Printing Game? Submit your custom order now and experience:
- Superior color accuracy
- Premium durability
- Fast turnaround times
Click here to start your DTF printing journey!