How to Use Canva for Text Masking to Create Standout Designs
Table of Contents
- Introduction: Turning Simple Designs Into Something Special
- What Is Text Masking in Canva and Why It Works So Well
- Setting Up Your Canva Project for Text Masking
- Using Shapes to Prepare the Masking Effect
- Turning Text Into a Mask Using Canva Effects
- Background Removal and Cropping for Clean Edges
- Refining Colors and Adding Depth With Duo Tone
- Layering Images for a Complete Text Mask Effect
- Creating a Soft Edge With Canva Frames
- Adding Design Details That Make It Pop
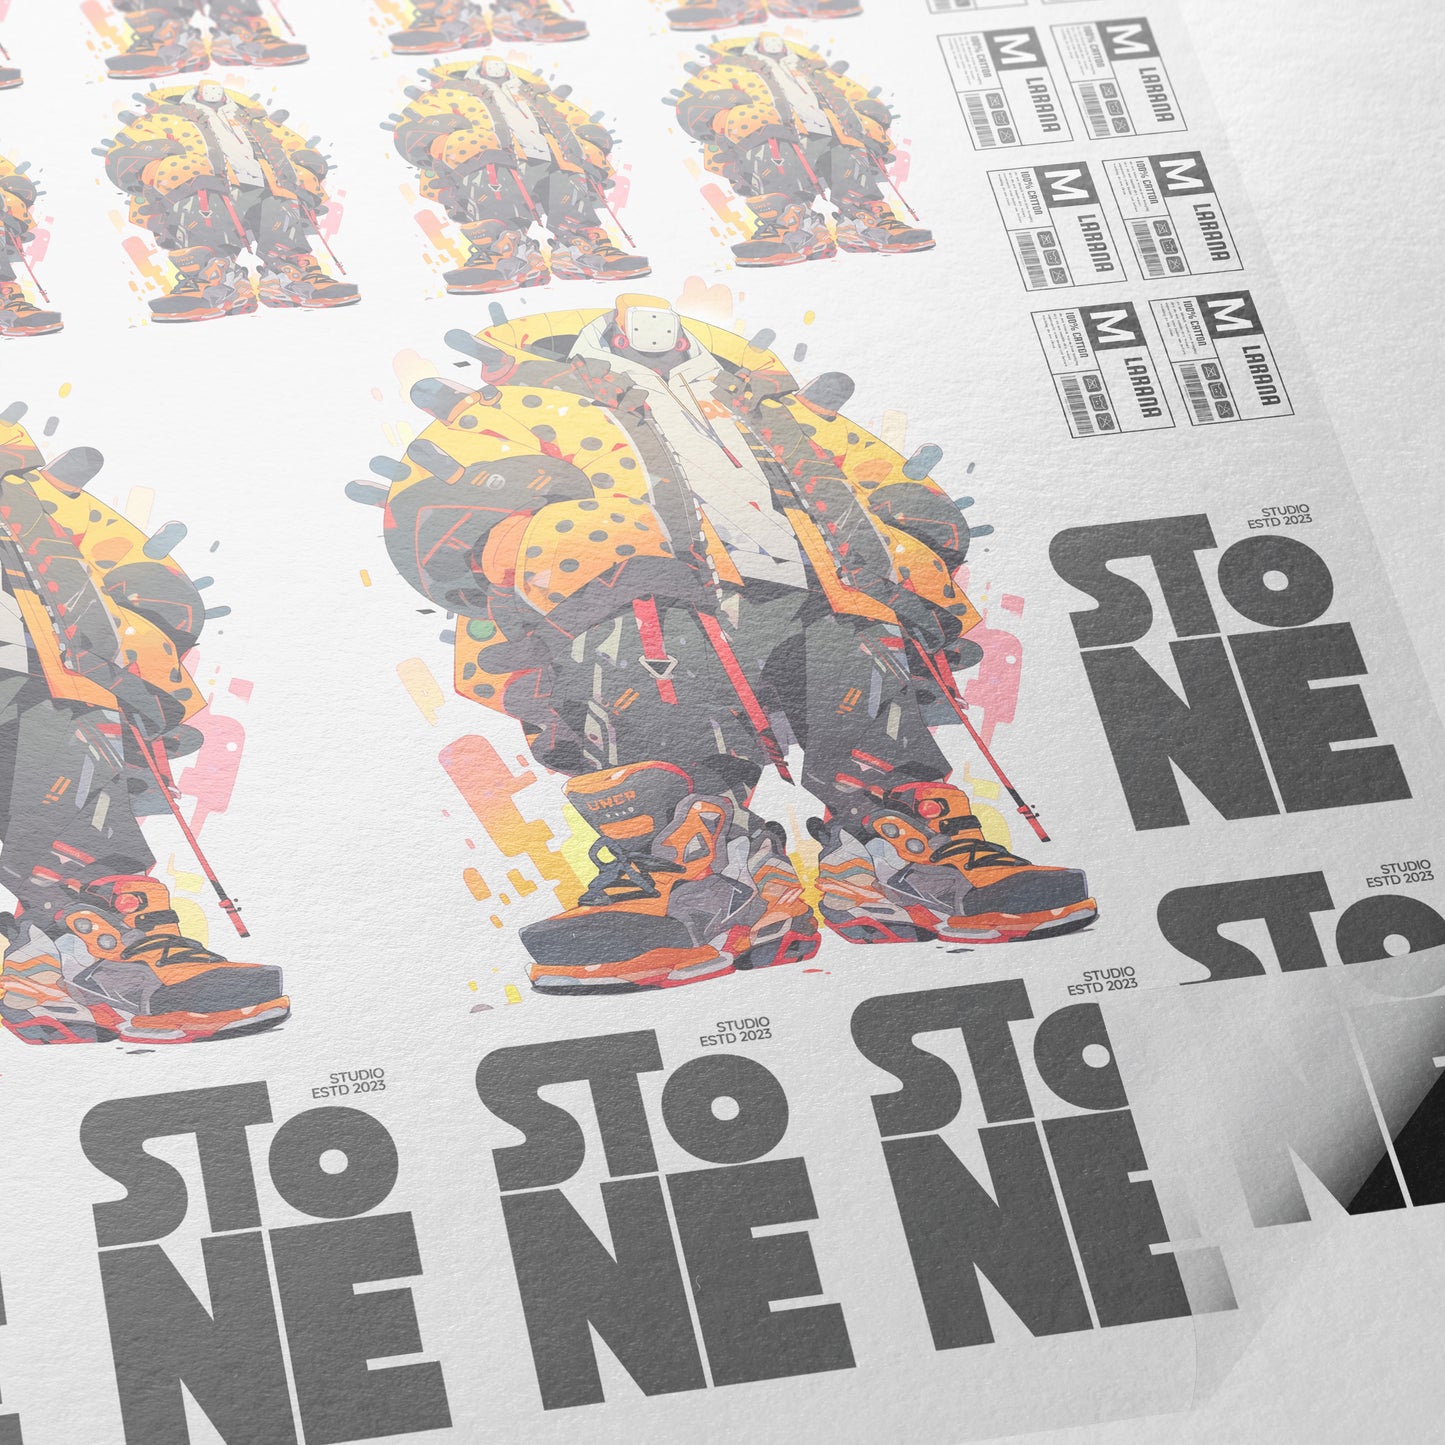
- Preparing Your Canva Design for DTF Printing
- From Digital Design to Finished Print
- Conclusion: Why Text Masking in Canva Is Worth Learning

Introduction: Turning Simple Designs Into Something Special
We all want our designs to stand out. Whether we’re creating graphics for social media, custom apparel, or print-ready artwork, plain text on top of an image can sometimes feel flat. That’s where text masking in Canva comes in. With just a few clever steps, we can turn basic layouts into polished, eye-catching designs that look like they were made in advanced design software.
In this guide, we’ll walk through how we use Canva to create a clean text masking effect, inspired by the full process shown in the video. We’ll explain every step in simple terms, expand on why each part matters, and show how this method can be used for real-world projects like DTF printing.
What Is Text Masking in Canva and Why It Works So Well
Understanding Text Masking in Simple Terms
Text masking is when an image shows only inside the shape of text. Instead of text sitting on top of an image, the image becomes the text itself. This creates a bold, modern look that instantly grabs attention.
In Canva, we don’t have a single text mask button. Instead, we build the effect using shapes, hollow text, background removal, and layering. While it sounds complex, the steps are actually very manageable once we understand the logic behind them.
Why Text Masking Makes Designs Look More Professional
Text masking adds depth and contrast. It helps guide the viewer’s eye straight to the message. When done right, it looks intentional and high-end, even if we’re working with simple elements.
For apparel and DTF printing, masked text also helps control where detail appears. This can improve print clarity and reduce unwanted edges or color issues during pressing.
Setting Up Your Canva Project for Text Masking
Importing and Scaling Your Base Image
We start by opening Canva and importing our main image. In the video example, a cyberpunk skull image is used, but this method works with photos, illustrations, or AI-generated art.
Once the image is on the canvas, we scale it up to fit the full area. This gives us flexibility later when we crop and align the image with our text mask.
Adding and Styling Your Text
Next, we add our text. In the example, the word chaos is used, but any word or phrase works. This is where we choose our font, adjust the size, rotate it if needed, and place it roughly where we want it to appear.
At this stage, we’re not worried about perfection. We just want a strong starting position and a font that matches the mood of the design.
Using Shapes to Prepare the Masking Effect
Creating the Black and White Shape Layers
Now we move into the clever part of the process. We create a square shape and resize it slightly larger than the text. We leave a small margin around the edges, which becomes important later.
We change this square to black. Then we create another shape, set it to white, and place it behind the black shape. We scale the white shape until it fills the entire canvas.
Exporting and Cleaning Up the Workspace
Once the shapes are in place, we download this image. After exporting, we delete the shapes from our canvas to keep things clean.
This exported image will act as the foundation for our text masking effect, even though it doesn’t look exciting yet.
Turning Text Into a Mask Using Canva Effects
Applying the Hollow Text Effect
We select our text and go to Canva’s text effects. Here, we choose the Hollow style and reduce the thickness down to one. This creates a thin outline version of the text.
This hollow text acts like a guide. It helps us align the masked image perfectly later on.
Importing and Aligning the Mask Image
Next, we import the black-and-white image we exported earlier. We move the text slightly, then scale the imported image to fit the canvas.
At this point, things may look messy, but that’s normal. The magic happens once we remove the background.
Background Removal and Cropping for Clean Edges
Removing the Background the Smart Way
We remove the background from the imported image. Because we left white space around the edges earlier, Canva removes both the white background and the white text, leaving only the black shape.
This step is crucial. It gives us a clean mask shape that we can resize and crop without unwanted artifacts.
Cropping the Mask and Fitting the Main Image
We crop the black shape to the exact area where we want the text masking to appear. Then we crop our main image so it fits perfectly inside that black area.
Now the masked effect starts to come together. The image feels like it’s living inside the text instead of sitting behind it.
Refining Colors and Adding Depth With Duo Tone
Adjusting the Canvas and Mask Colors
We make sure the project background is set to white. Then we go to Edit, choose Duo Tone, and select Custom.
Using the eyedropper tool, we change the black color to white. This step helps clean up the design and prepares it for the final layered look.
Desaturating and Enhancing the Image
To control the overall mood, we desaturate the image using Duo Tone. This keeps the design from looking too busy and helps the text stand out more clearly.
We then move the original text back into position to create a visible outline around the masked area.
Layering Images for a Complete Text Mask Effect
Removing Backgrounds and Adjusting Layers
We remove the background from the text mask itself, then import the main image again. After resizing and removing its background, we place it behind the text by adjusting the layer order.
Fine-Tuning Color With Duo Tone
If the text color doesn’t feel right, we can adjust it again using Duo Tone. This gives us full control over contrast and style without changing the layout.
Creating a Soft Edge With Canva Frames
Using Frames as Layer Masks
Straight edges can look harsh, especially on apparel designs. To soften the bottom edge, we use Canva’s built-in frames as a layer mask.
Fixing Overlaps and Final Layer Adjustments
If the frame includes parts we don’t want, like the head of an image, we import the main image again and crop only what we need.
Adding Design Details That Make It Pop
Changing the Canvas Background Color
Sometimes we need to move layers aside to select the canvas itself. Once selected, we can change the background color to make the design feel more bold.
Using Splatter Elements for Extra Texture
To finish the design, we add splatter elements from Canva’s Elements panel. These details add energy and depth to the final look.
Preparing Your Canva Design for DTF Printing
Uploading to a DTF Gang Sheet Builder
Once the design is finished, we download it and upload it to a DTF gang sheet builder. This allows us to control size, layout, and quantity.
Using Color and Cleanup Tools
We remove unwanted colors, adjust tolerance, and clean up edges to ensure the print comes out crisp and professional.
From Digital Design to Finished Print
Pressing the Design on a Shirt
With the print ready, we press the design onto a quality blank shirt using proper heat and pressure.
Adding Texture With a Matte Finish
A second press with a matte finishing sheet reduces shine and adds a textured feel to the final print.
Conclusion: Why Text Masking in Canva Is Worth Learning
Text masking in Canva shows that we don’t need complex software to create advanced-looking designs. By understanding how shapes, hollow text, background removal, and layering work together, we can build eye-catching graphics ready for print.
This process is flexible, repeatable, and perfect for creators who want professional results using simple tools. With practice, text masking becomes a powerful part of our creative workflow.
Ready to Embark on your DTF Journey?
Experience DTF Excellence Today! Get your Sample Pack! See the vibrant colors, durability, and precision we offer firsthand before you invest.
Transform Your Style with our DTF Collection!
Ready to Elevate Your Printing Game? Submit your custom order now and experience:
- Superior color accuracy
- Premium durability
- Fast turnaround times
Click here to start your DTF printing journey!