Mastering Color Knockout for Softer DTF Prints Using Kittl
Table of Contents
- Why Color Knockout Matters for DTF Printing
- Step 1: Preparing Your Artwork in Kittl
- Step 2: Testing with Kittl’s Mockup Tool
- Step 3: Exporting and Printing
- Step 4: Pressing for Professional Results
- Common Mistakes (and How to Fix Them)
- Why Kittl Beats Traditional Design Software
- Final Thoughts: Elevate Your DTF Printing Game

Color knockout techniques are changing how designers create comfortable, long-lasting DTF (Direct-to-Film) prints. By removing unnecessary ink layers and letting the shirt’s color shine through, you can make lightweight designs that feel soft and look sharp. This guide breaks down how to use Kittl-a powerful design tool-to master color knockouts, even if you’re new to DTF printing.
Why Color Knockout Matters for DTF Printing
Heavy DTF prints can crack over time and feel stiff on fabric. The color knockout method solves this by replacing ink layers with the shirt’s base color. For example, a black shirt’s fabric can fill in dark areas of your design, reducing ink use by up to 40%. This technique isn’t just for black shirts-it works for any color garment if you plan your layers carefully.
Key benefits include:
- Softer feel: Less ink means the fabric stays flexible.
- Durability: Prints resist cracking after repeated washes.
- Faster production: Lighter prints require less drying and pressing time.
Step 1: Preparing Your Artwork in Kittl
Choose the Right Design
Not all artwork works for color knockout. High-contrast designs with clear shapes (like logos or bold illustrations) yield the best results. Avoid overly detailed gradients, as they’re harder to separate into clean layers.
Vectorize Your Image
Kittl’s vectorization tool breaks your design into color layers. Here’s how:
- Upload your design to Kittl.
- Click “Vectorize” and select “16 colors” for maximum layer separation.
- Hide or delete layers you want to replace with the shirt color.
Pro Tip: If the vectorize option isn’t available (common with template-based designs), export the image, re-upload it, and try again. This “workaround” unlocks layer editing.
Step 2: Testing with Kittl’s Mockup Tool
Before printing, preview your design on different shirt colors:
- Open the mockup tool in Kittl.
- Swap shirt colors to see how knocked-out areas blend.
- Adjust layers if details get lost-for example, a red shirt might clash with pink ink.
This step prevents wasted transfers and helps you spot alignment issues early.
Step 3: Exporting and Printing
High-Resolution Settings
Always export designs at 300 DPI and larger than your final print size. For a 12"x12" shirt graphic, export at 15"x15". Scaling down keeps details crisp; scaling up blurs edges.
Gang Sheet Tips
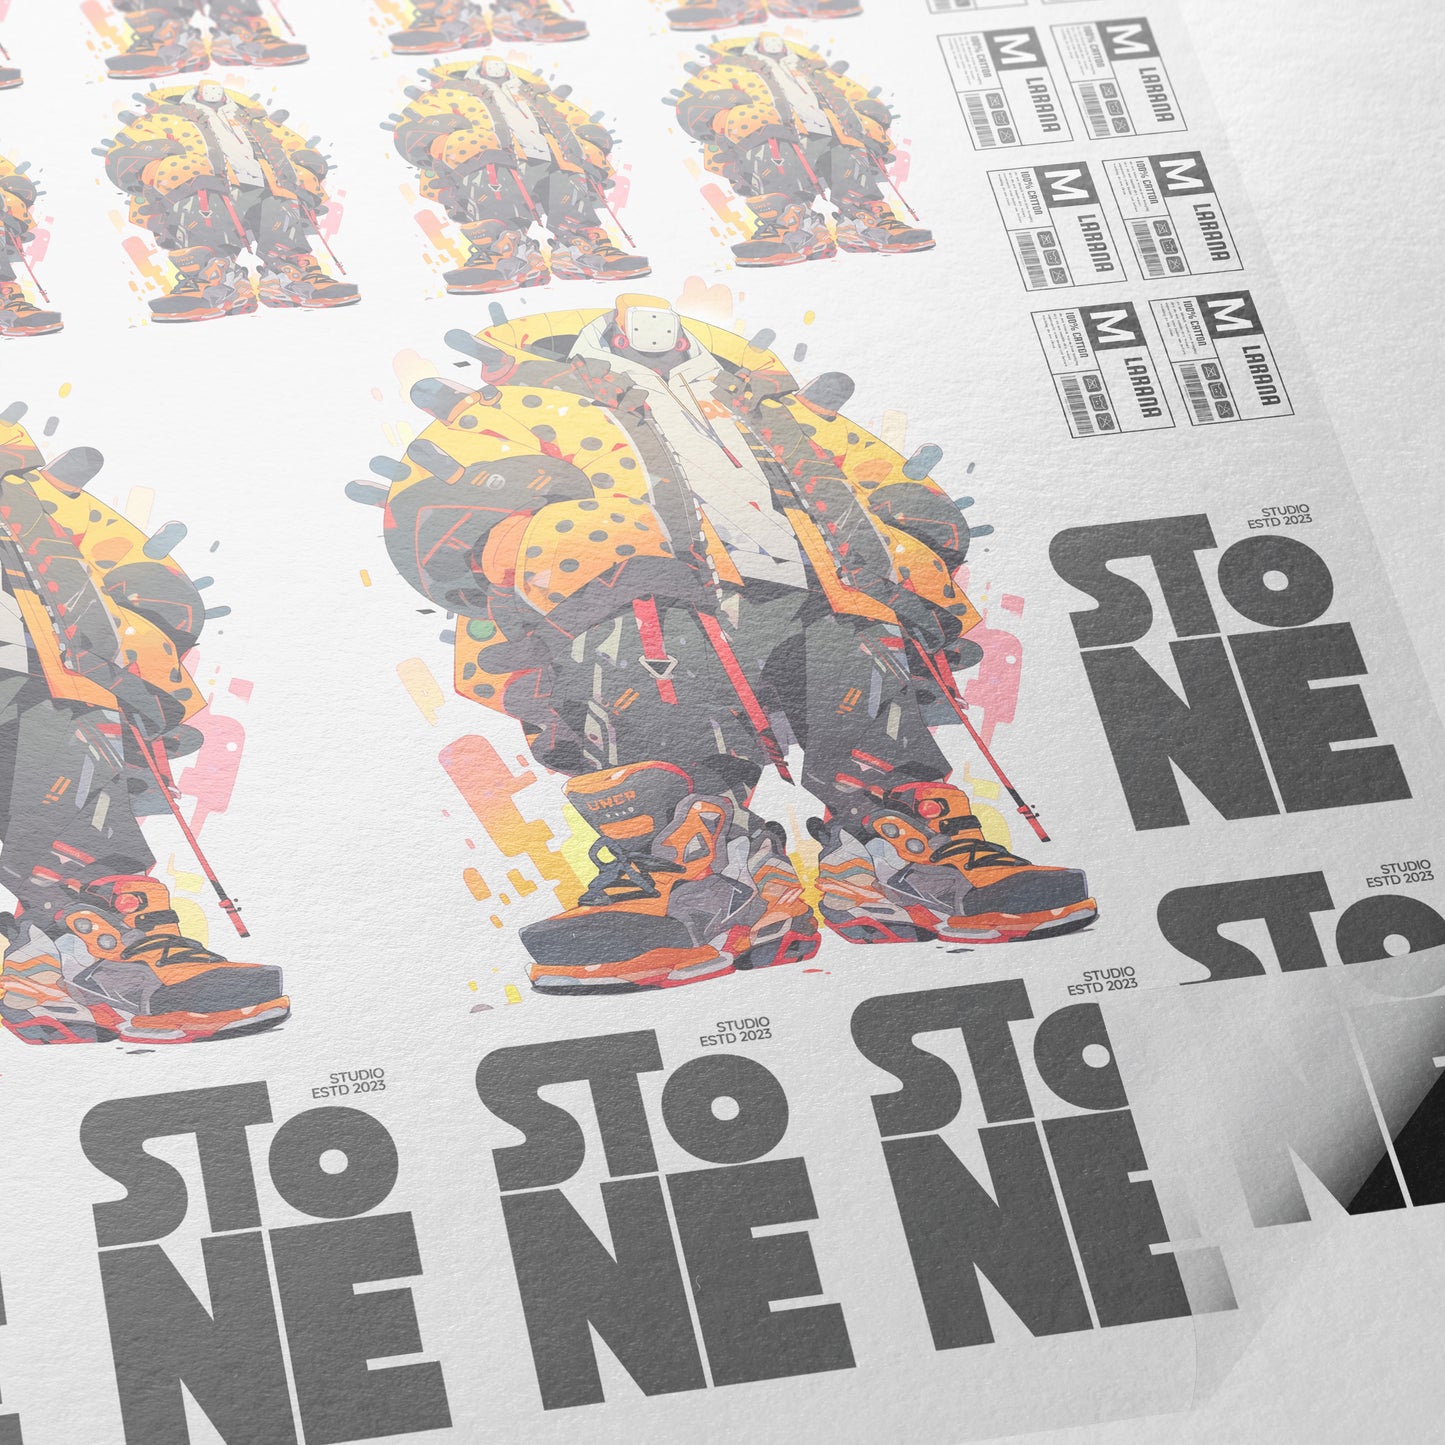
Group multiple designs on one transfer sheet to save film and powder:
- Use Kittl’s gang sheet builder to arrange artworks.
- Leave 0.5" between designs to avoid overlap.
- Label each design for easy cutting.
Step 4: Pressing for Professional Results
Heat Press Settings
- Temperature: 300°F (149°C) for cotton/poly blends.
- Pressure: Medium-heavy (40-50 PSI).
- Time: 10 seconds for adhesive activation, 7 seconds after peeling the film.
Pro Tip: Use a matte finishing sheet to add texture. It hides minor imperfections and gives prints a premium feel.
Common Mistakes (and How to Fix Them)
White “Halo” Around Designs
Cause: Misaligned printer nozzles leave a white outline.
Fix: Calibrate your DTF printer monthly and clean print heads after every 10 transfers.
Colors Look Washed Out
Cause: Over-removing ink layers.
Fix: In Kittl, keep at least 2-3 color layers for shadows and depth. Test prints on scrap fabric first.
Why Kittl Beats Traditional Design Software
Unlike Photoshop or Illustrator, Kittl offers built-in DTF-specific tools:
- One-click vectorization for easy layer editing.
- Pre-sized templates for popular garments (e.g., crewnecks, hoodies).
- AI art generators to expand simple sketches into full designs.
Final Thoughts: Elevate Your DTF Printing Game
Color knockout isn’t just a trend-it’s a smarter way to print. By mastering Kittl’s tools and focusing on ink reduction, you’ll create shirts customers love to wear. Start with simple designs, experiment with layer combinations, and always test press settings. As Transfer Superstars’ Phil says, “The best prints come from trial, error, and a touch of creativity”.
Ready to try? Sign up for Kittl with code TRANSFERYT for 25% off your first month.
Ready to Embark on your DTF Journey?
Experience DTF Excellence Today! Get your Sample Pack! See the vibrant colors, durability, and precision we offer firsthand before you invest.
Transform Your Style with our DTF Collection!
Ready to Elevate Your Printing Game? Submit your custom order now and experience:
- Superior color accuracy
- Premium durability
- Fast turnaround times
Click here to start your DTF printing journey!